This post may contain affiliate links. Please read our privacy policy for additional information.
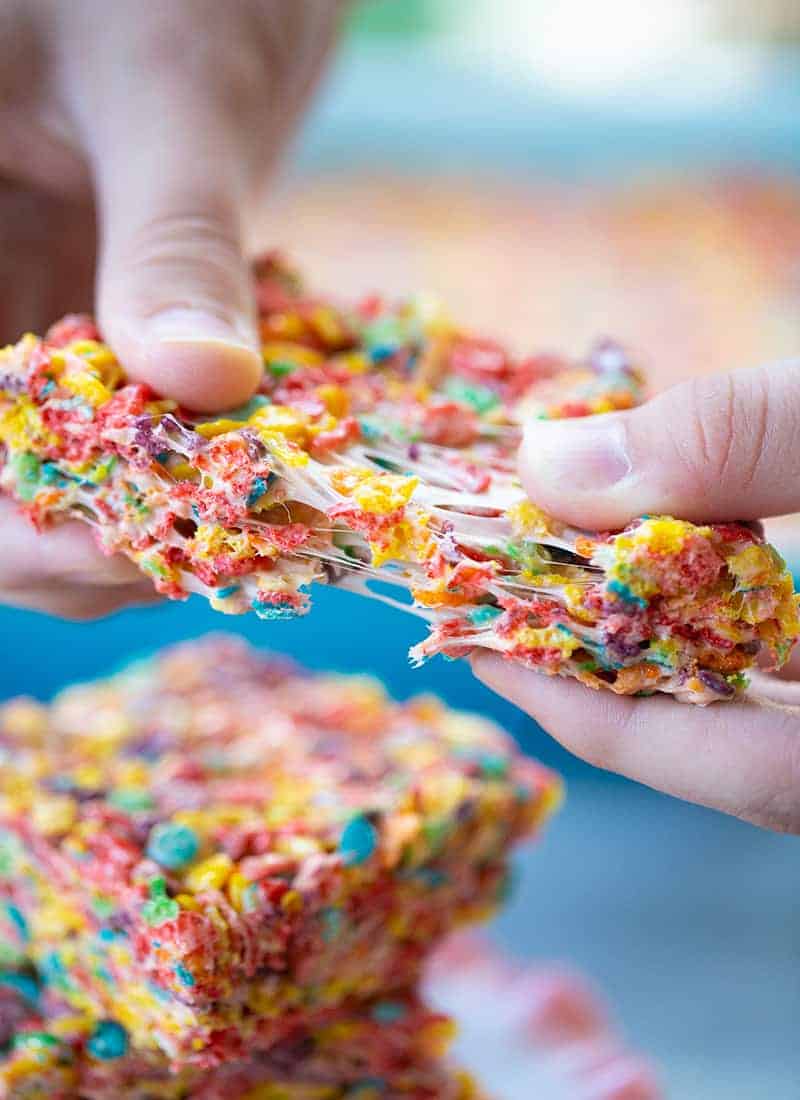
These fruity pebbles treats have always been super popular in our house, they’re even more popular than my mars bar squares or my cinnamon toast crunch squares and that’s saying something! This sweet and gooey marshmallow cereal mix just really hits the sweet spot (see what I did there?).

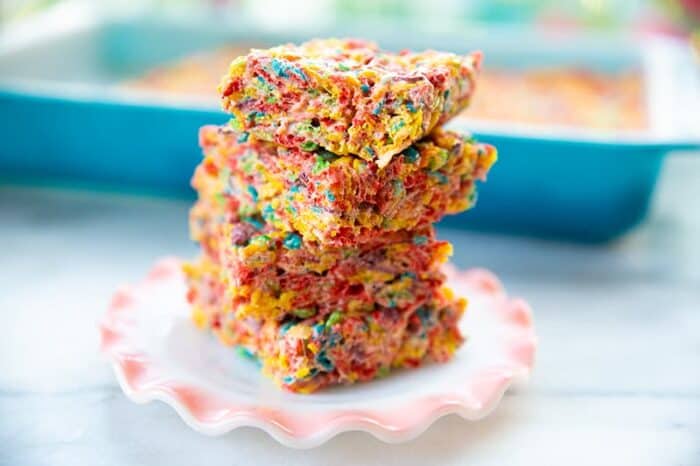
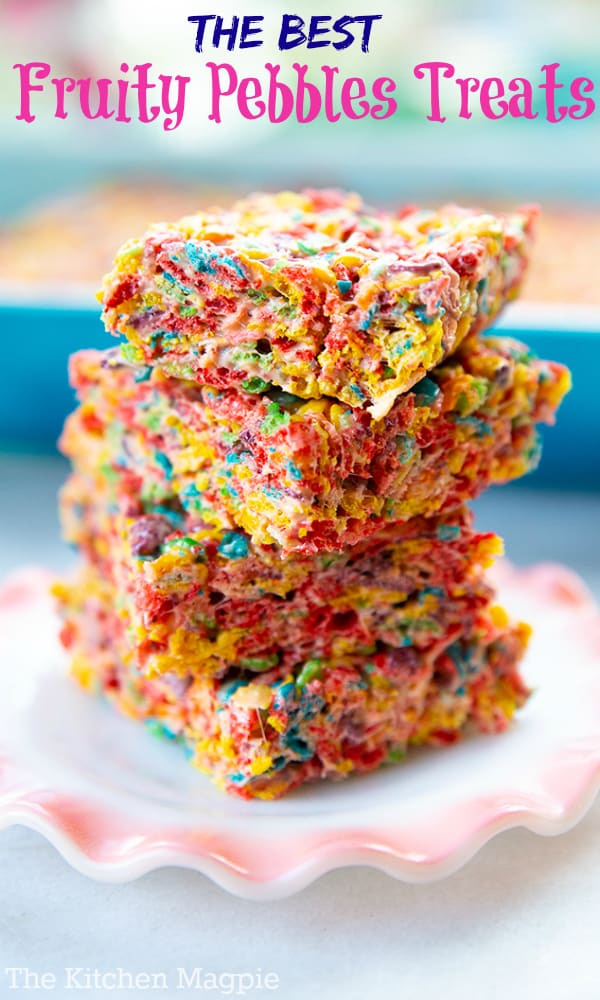
The BEST Fruity Pebbles Treats
Making fruity pebbles treats takes me right back to my childhood so they’re definitely a bit of a nostalgic treat! Fruity Pebbles aren’t available in Canada, so they have always been one of those things that we bring back from the USA when we visit. The cereal came out in 1971, (with the Flintstones cartoon era of course!) so as a kid, these were a VERY BIG DEAL when we went to the States with my parents!
This fruity no-bake recipe is a fun take on the classic Rice Krispies bars recipe we all know and love, and it’s a great way to create a yummy snack from your favorite special treat cereal (well, mine anyway).
Fruity pebbles treats are as popular with adults as they are with the kids, which makes them the perfect goodies to enjoy on every occasion, from birthday parties to any kind of get-together – Mr Magpie actually even called these “crack bars”, which surprised me because he usually doesn’t like really sweet treats (the exception being my Chewy Chocolate Puffed Wheat Squares)
This is a super simple recipe with no baking involved so it’s perfect for getting the kids involved in the kitchen too!
How To Make The BEST Fruity Pebbles Treats
This no-fuss recipe literally takes 10 minutes to make!
- Butter a baking pan and set it aside. Remember to save some butter for greasing your hands later.
- Melt the marshmallows and butter on the stove or in the microwave. Make sure that you melt them over a low-medium heat so that the mixture doesn’t harden or burn. If you’re using a microwave, heat them at 30-second intervals so you can stir between heating.
- When the mixture is smooth and completely melted together add in the Fruity Pebbles. Very gently mix until the cereal is coated evenly with the marshmallow. you can spoon it into the pan (9×13 is an ideal size).
- Lightly butter your hands and press the mixture down into the pan. It’s important to spread it evenly from corner to corner.
- And that’s it! Now you just have to cover your treats with plastic wrap and let it them sit for 1-2 hours.
- Your delicious cereal treats will be ready to eat as soon as they’ve cooled down to room temperature. Just don’t refrigerate them or they will go rock hard!
Tips and Tricks For The BEST Fruity Pebbles Treats
- The one thing you need to focus on with this recipe is the amount of butter and marshmallows you use. Too much and it’ll be too gooey; too little and it’ll be too dry.
- DO NOT USE STALE CEREAL.There’s a lot to be said for limiting food waste but stale cereal = stale and too chewy fruity pebbles. This cereal tends to pick up ANY moisture in the air and goes too chewy and loses the crisp.
- Don’t be afraid to experiment with fruity pebbles cereal flavours! Cocoa pebble treats are just as amazing!
- Don’t press too hard on the pan mixture or your treats will get too tough. The ideal fruity pebble treats should be firm but chewy.
- Want some extra flavour? Add vanilla! Adding some vanilla to this recipe really boosts the marshmallow flavour. Why not give it a go and see what you think!
- Keep some marshmallows aside. Instead of melting all of your marshmallows into the mixture, keep some to go in with the cereal for some extra marshmallowy goodness. And if you’ve LOADS left then why not use them to make some scrumptious peanut butter marshmallow squares/confetti bars too!
- Slice just before you serve. Don’t slice your treats until you’re serving as this will help to maintain freshness. If you slice them too early they can start to get dried out and crispy around the edges.
- Experiment with different pan sizes to find the perfect thickness for your sweet treats. A 9×13 pan works best for me but it all depends on how thick you like them.
More Bars And Squares Dessert Recipes
Chewy, Decadent Buttery Blondies
Chocolate Oreo & M&M Cereal Bars
Happy no baking! We are headed back to the States for one last trip this summer and I will be bringing back boxes of these to hoard and save for these treats! Any other suggestions of what I can bring back that we don’t get here in Canada? Let me know in the comments below what you usually buy!
Love,
Karlynn
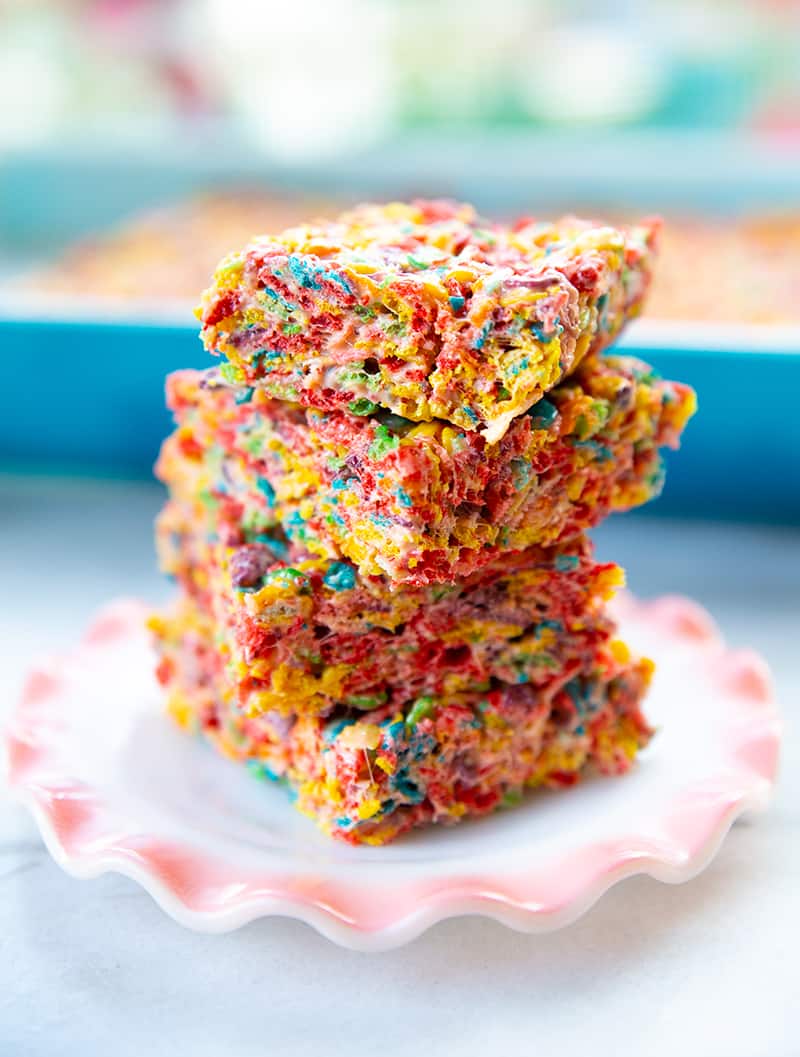
The BEST Fruity Pebbles Treats
Ingredients
- one (400 grams) bag fruit flavored colored mini marshmallows
- 1/2 cup salted butter
- 8 cups Fruity Pebbles cereal
Instructions
- Lightly butter a 9×13 baking pan and set aside. Save some butter for greasing your hands later on.
- Melt together the marshmallows and the butter. You can do this on the stove in a very large pot over medium heat, or you can use a large microwave safe bowl and heat the ingredients in 30 second intervals, stirring between heating until they are smooth and melted together.
- Once the ingredients are melted together and mixed until smooth add in the Fruity Pebbles. Very gently mix until the cereal is coated evenly with the marshmallow.
- Spoon into the prepared 9×13 pan. Butter your hands lightly, then press the mixture firmly down into the pan, spreading it out from corner to corner in one even layer. Butter your hands again if the mixture starts to stick.
- Cover with plastic wrap and let set on the counter for 1-2 hours. DO NOT REFRIGERATE. This will make rock hard cereal bars!!!
- Slice and enjoy!
Notes
Nutrition
Nutrition information is automatically calculated, so should only be used as an approximation.

PIN THIS RECIPE to your DESSERT RECIPES Boards and Remember to FOLLOW ME ON PINTEREST!


Brandon Hurst says
I added just over a cup of coconut flakes. Gives it a bit of a tropical feel 🌴🥥