This post may contain affiliate links. See my privacy policy for details.
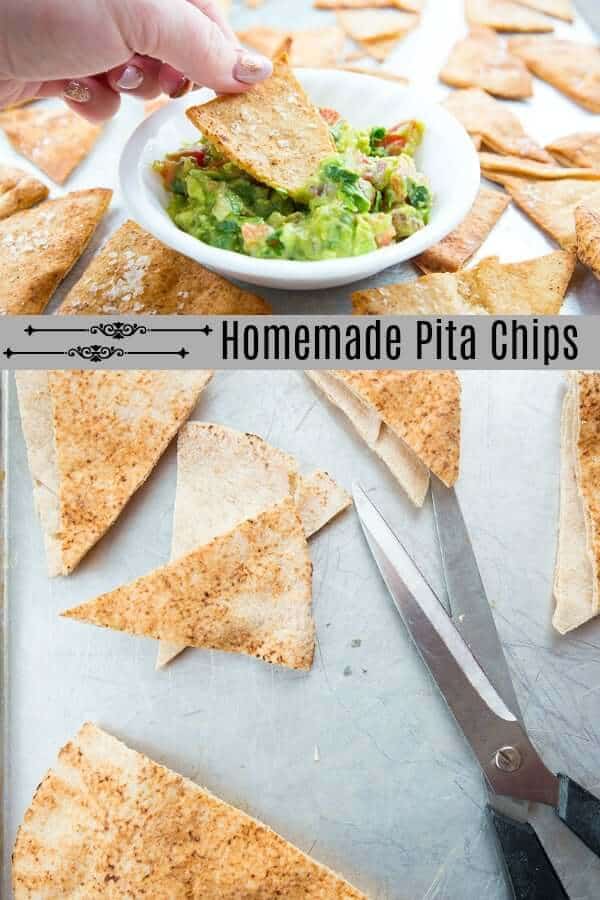
I quickly wrote up this recipe as I was teaching my own son How to Make Homemade Pita Chips. I realized that not everyone knows the basics and that if my 14 year old son needed to learn this cooking skill, then there are tons of other people that could benefit from knowing it! Also, it’s handy to print out and hand to a beginning cook, so I have made the directions super easy and step by step!
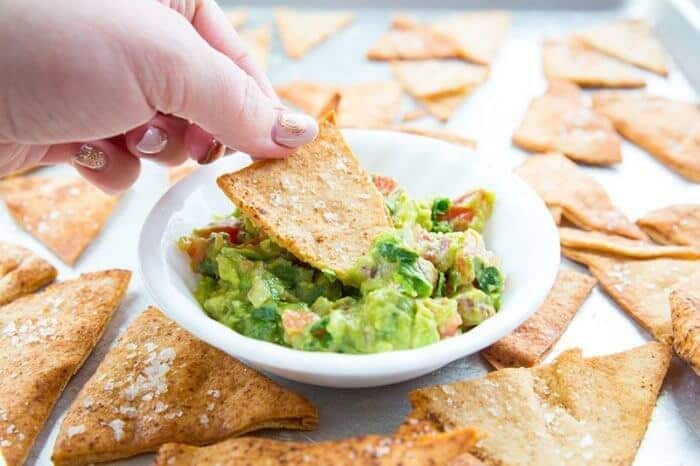
Knowing How to Make Homemade Pita Chips is a Lifesaver!
No word of a lie, we have been eating guacamole and homemade pita chips at least once a week for the past couple of week and we call it dinner. It’s no different than taking a pita and stuffing it full of vegetables and avocado except it really feels like you are having one heck of an indulgent snack-fest instead of dinner! My Easy Chunky Homemade Guacamole is seriously the B-O-M-B and we eat it as least once a week. It’s chock full of tomatoes, garlic, cilantro, onions and avocado – it’s one heck of a nutritious dinner that feels like a treat. The pita chips are made with olive oil and sea salt, keeping them as easy as you want. If you’re feeling a little adventurous, my Crab Rangoon Dip , a Pineapple Cheese Ball or my Beer Cheese Dip are personal guilty pleasures!
Are Pita Chips Good For You?
Yes and no. Pita chips in the store are still a healthier choice than the potato chips fried in oil, but they are still pita chips made in a factory with other ingredients. When you make homemade pita chips you can control the ingredients, choose the pita’s that you want and bake them with the olive oil of your choice. Homemade pita chips are the way to go!
How do you make pita chips out of pita bread? What do I need?
That is the entire reason for this post!
- First things first, you need to buy pita bread ( also called pita pockets, pitas) of your choice. I like to buy whole wheat ones.
- You also need to purchase a good quality olive oil. You can go crazy with olive oil – like this olive oil for $50!! WHAT?? or you can get a nice quality organic olive oil from your local store. OMG WAIT I JUST FOUND A $450 OLIVE OIL! I am in the wrong business!!!!! That’s it. I am quitting food blogging and I’m growing olives.
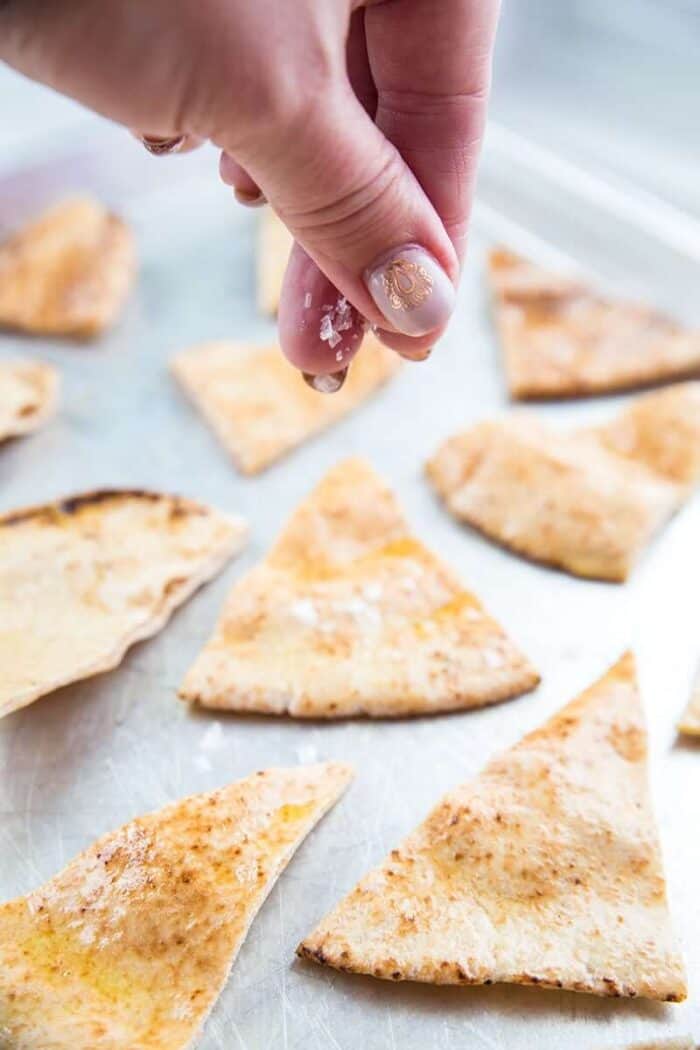
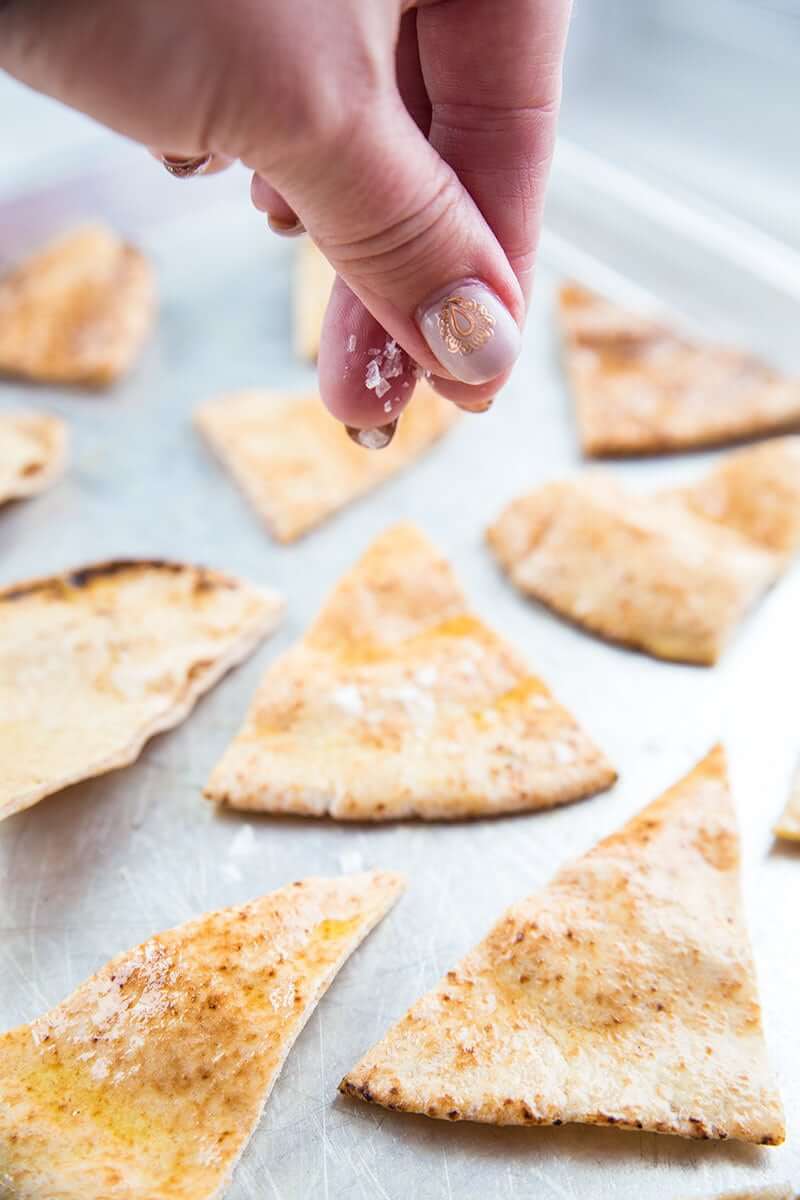
- Next is flaked sea salt. Flaked sea salt is key, as you can see it as you sprinkle it onto the cut up pitas. Table salt will actually dissolve into the olive oil that you’ve put on top and you can’t see it as well. Not only that, flaked sea salt adds a super salty crunch to the chips.
Happy cooking! I hope this helps out some of you Mama’s that are getting those kids to cook! Lord knows I am trying, but it seems harder as a food blogger! I have so much cooking to do all the time, between the cookbooks and the blog that I forget to get my kids to cook. When I was 14, I was cooking meals! How about you? When were you really cooking?
Karlynn
For some other snack recipes try my:
- Classic Homemade Nuts and Bolts Recipe
- Grape jelly Meatballs
- Shrimp Surprise Spread : The Best Seafood Dip Ever
- Rice Krispies Cheese Crisps
- Detroit Honey Hot Wings
Homemade Pita Chips
- Prep Time
- 10 minutes
- Cook Time
- 8 minutes
- Total Time
- 18 minutes
- Course
- Appetizer
- Cuisine
- Greek
- Servings
- 8
- Calories
- 164
- Author
- Karlynn Johnston
Ingredients
- 4 tortillas ( I use whole wheat)
- 1/2 cup olive oil
- flaked sea salt
Instructions
- Pre-heat your oven to 400 °F. Get out a large baking sheet that fits in the entire oven with the door closed OR two baking sheets that will fit side by side.
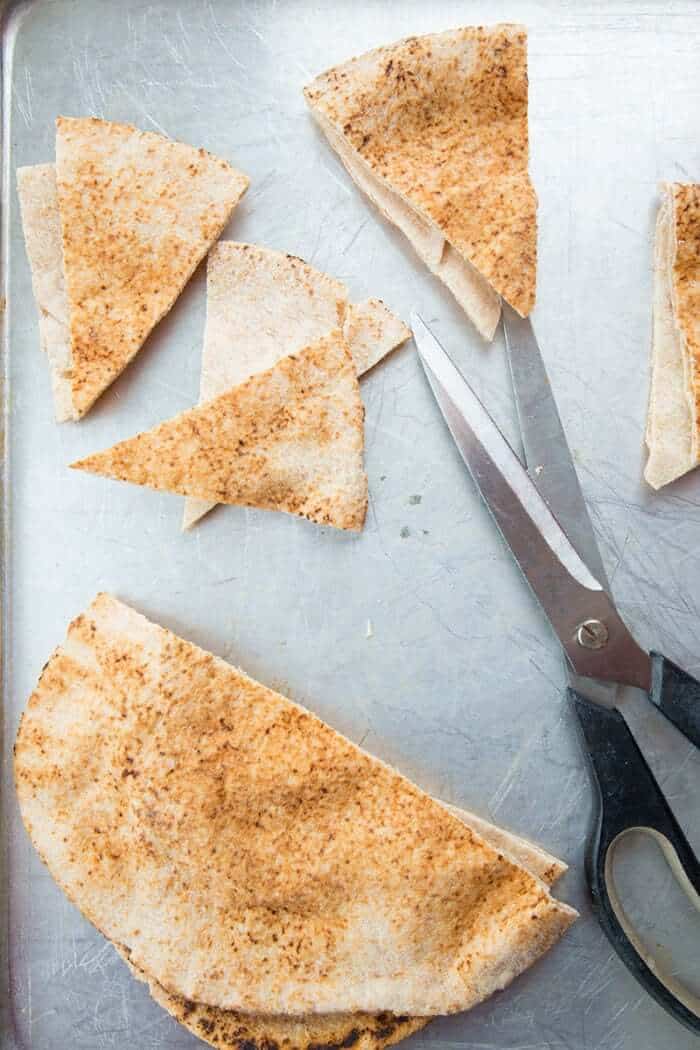
- Cut each tortilla into 8 triangles. To do so, first cut the tortilla in half down the middle. Proceed to cut each of the halves into 4 more pieces, into triangles as shown in the photo above. The sharp tip of the triangle will be the open end of the pita and the wide end of the triangle will be the closed end/crust edge of the pita.
- Using a pastry brush, brush each pita triangle with olive oil on each side. Sprinkle with flaked sea salt to your liking.
- Bake in the oven for 7-8 minutes, watching them carefully as they do burn quickly. Remove them when they are nicely browned and crisp.
- Let them cool on the baking sheet, then use as desired for snacking and dipping!
Recipe Notes
Nutrition Information
All calories and info are based on a third party calculator and are only an estimate. Actual nutritional info will vary with brands used, your measuring methods, portion sizes and more.
Made this recipe?
Share a photo of what you made on Instagram or Facebook and tag me @thekitchenmagpie or hashtag it #thekitchenmagpie.
Please rate this recipe in the comments below to help out your fellow cooks!
Learn to cook like the Kitchen Magpie

A Very Prairie Christmas Bakebook
Vintage Baking to Celebrate the Festive Season!

Flapper Pie and a Blue Prairie Sky
A Modern Baker’s Guide to Old-Fashioned Desserts
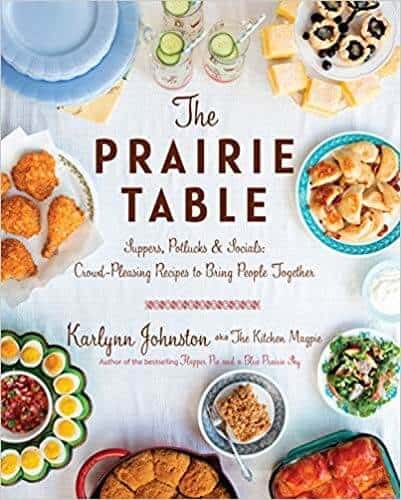
The Prairie Table
Suppers, Potlucks & Socials: Crowd-Pleasing Recipes to Bring People Together

Pin This To Your Snack Ideas Boards and Remember to FOLLOW ME ON PINTEREST!





2pots2cook says
Love it. Love it very much ! So simple and frugal ! Thank you !