This post may contain affiliate links. Please read our privacy policy for additional information.
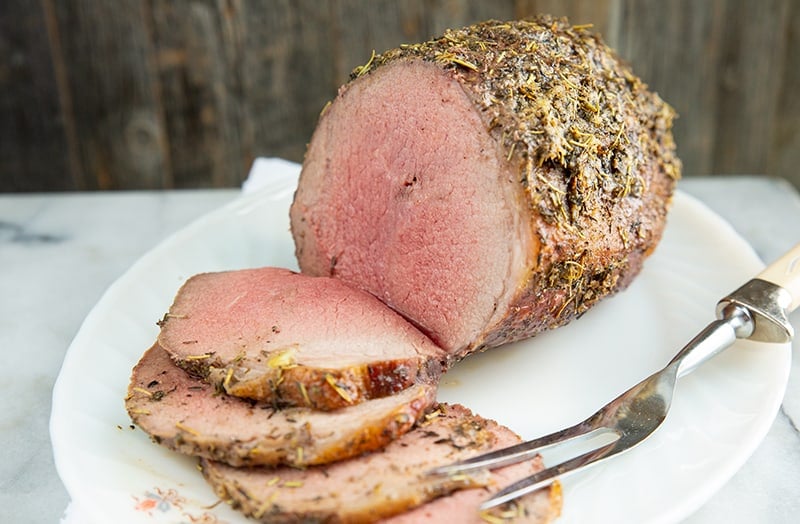
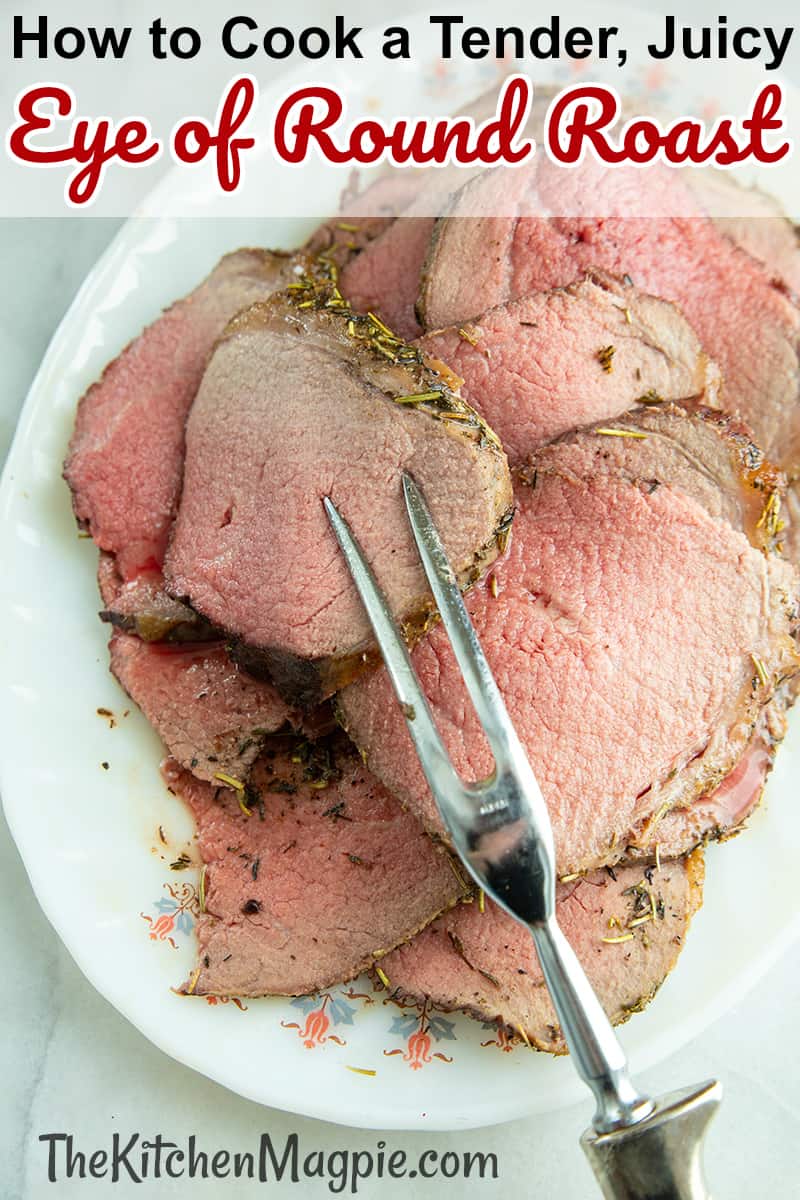
This herb and garlic stuffed eye of round roast recipe yields a fabulously tender, juicy and delicious roast beef – from what isn’t the most tender cut of beef. Dare I say it gets as close as possible to melting in your mouth as you can with this lean, tougher of beef?
We have used this method to cook our bottom round roast and our top sirloin roast with rave reviews from readers! It works!
The Eye of Round Roast Cut of Beef
Since the eye of round roast looks like it’s delicious counterpart, the beef tenderloin, one might assume that it’s a tender, juicy cut of beef. It’s not. Eye of the Round comes from a part of the cow that is a well-used muscle, and when it comes from a muscle area that is used all the time, you end up with a lean and tougher cut of beef.
Don’t let that scare you away from this economical and easy to cook roast! I pulled this from my freezer the other day (we are eating from our freezer while practicing strict social distancing to do our part) and proceeded to AMAZE the family with this roast. Not even kidding! Mike had his doubts, but he raved about how tender this roast was.

How to Cook an Eye of Round Roast
One thing Mike and I have learned is that all tougher cuts of roast benefit from a layer of butter on top, to add moisture and fat that they usually don’t have. Cooking an eye of round roast is easy:
- Bring the roast to room temperature on the counter
- Slather with the butter herb mixture
- Roast at a high temp for a short amount of time
- Reduce the heat
- Cook low and slow until your desired done-ness is reached.

How to Make an Eye of Round Roast Tender
- The key to making a tender eye of round is the high heat method, which means that you roast the heck out of it for ten minutes, then reduce the heat to a lower one and then roast low and slow. My roast took 2 1/2 hours to cook to an internal temperature of 120 °F, which is our perfect done-ness. Again, this roast benefits from NOT being overcooked, as there is so little fat marbling throughout the roast. However, cook it until your preferred level.
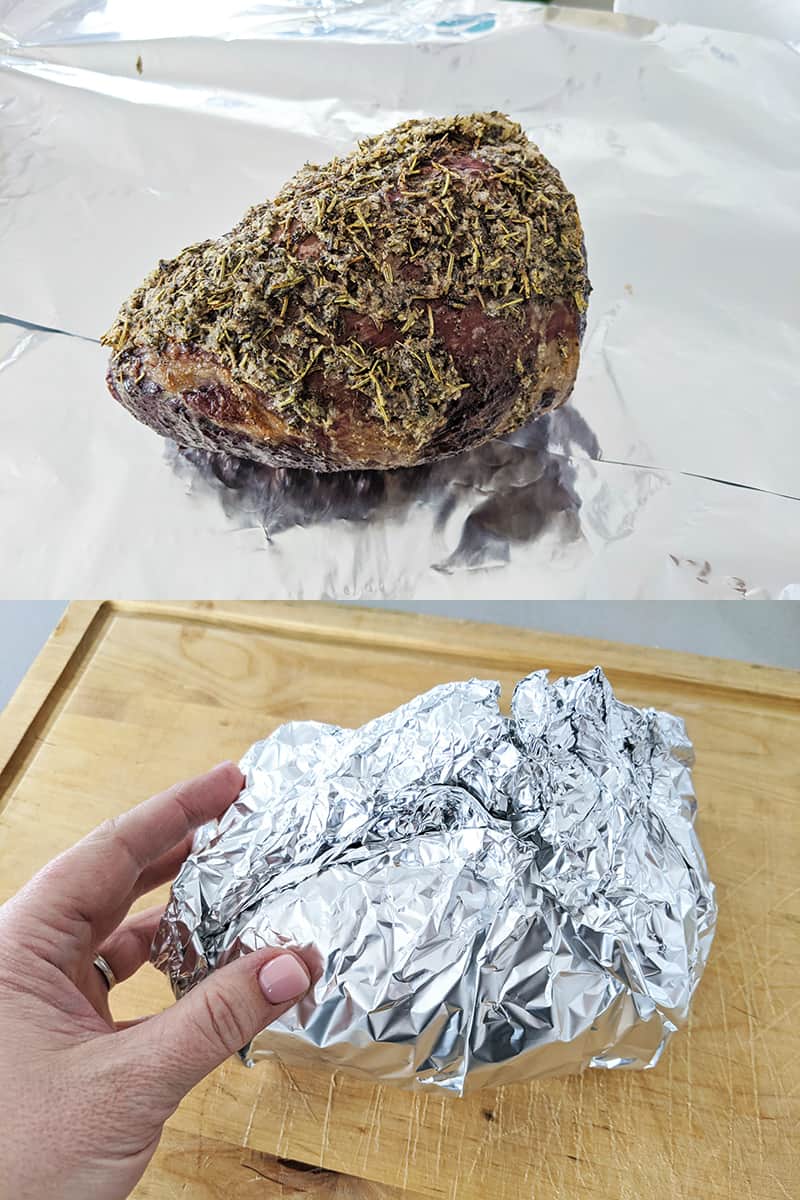
- Always tent your roast in tinfoil, as shown in the photos below, allowing the juices to settle back into the meat and rest. It really does make a difference!
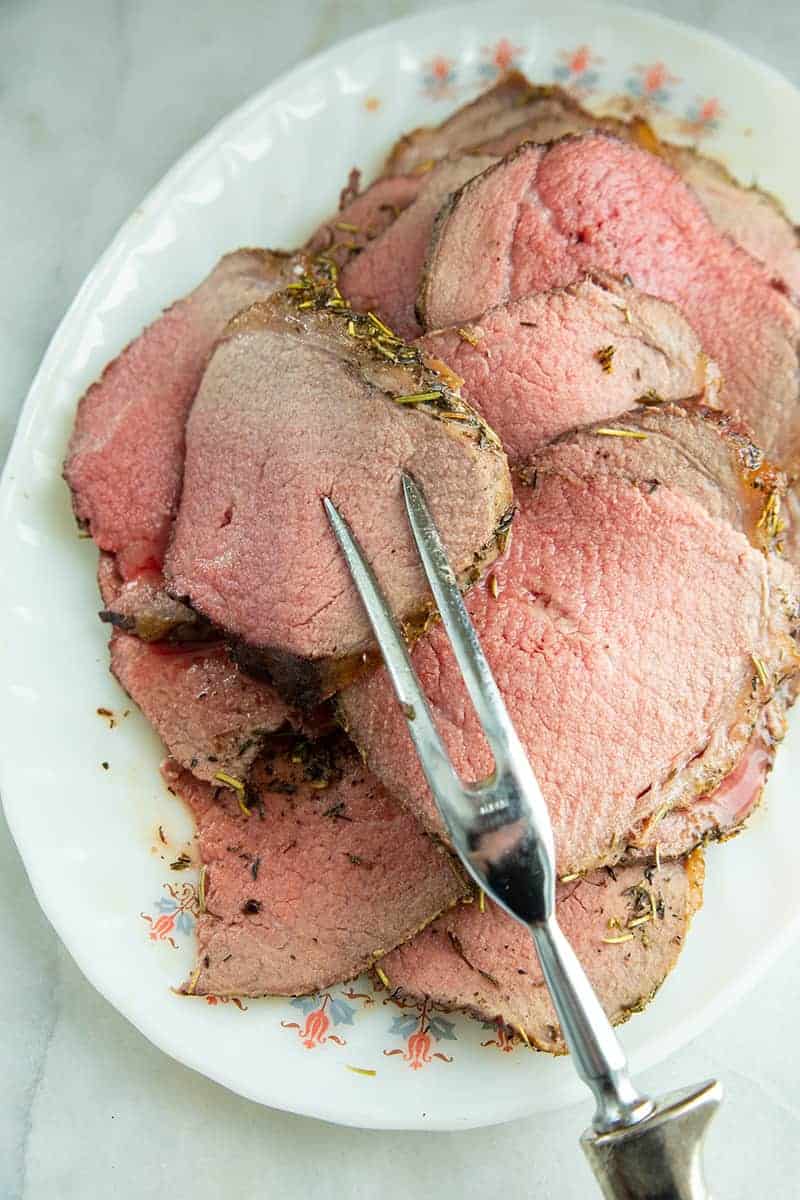
- Slice this roast thinly against the grain, as shown, or it will be tougher. Slicing it thinly really helps!
Beef Internal Temperatures Cooking Guideline
Blue in the middle– 110 degrees Fahrenheit – when the middle of the roast still “quivers”
Rare- 120-125 degrees Fahrenheit in the middle.The roast is warm all the way through. This roast was done to 120°F, then tented and raised to around 130°F.
Medium-rare– 130-135 degrees Fahrenheit in the middle. The center is pink, with slight brown towards the outside.
Medium – 140 degrees Fahrenheit in the middle. Barely pink with brown to the outside.
Well-Done – 160 degrees Fahrenheit and over. Brown throughout.
What to Serve with Roast Beef
Potatoes are my top choice, you can try those or a few different ideas:
- Instant Pot Mashed Potatoes – these are amazing!
- Fried Potatoes and Onions – a great way to use up leftovers!
- Skillet Cornbread
- Grab some pickled carrots and use them up!
- Cheesy Grilled Naan
More Beef Roast Recipes
Being an Alberta girl, we have a lot of roast beef recipes on this website! Here are some reader faves:
- Dutch Oven Pot Roast
- How to Cook a Prime Rib Roast
- Root Beer BBQ Slow Cooker Brisket
- How to Cook a Roast in Your Instant Pot
And then you can make French Dip Sandwiches with the leftovers!
Happy cooking! Who else is digging into their freezers and using up what has been in there forever? It’s a good time to do this, who else has roasts and meat that is still good at the bottom of their freezer?
Also, this works well with wild game, FYI for those of you that have some in your freezer!
Love,
Karlynn
Herb and Garlic Stuffed Eye of Round Roast Recipe
Ingredients
- one 3-5 pounds eye of round roast
- 3/4 cup butter, softened
- 1 1/2 tablespoons dried rosemary , freeze dried works the best
- 1 1/2 tablespoons dried thyme, freeze dried works the best
- 1 1/2 tablespoons flaked sea salt
- 2 teaspoons ground black pepper
- 5 small cloves of garlic , peeled and sliced in half
Gravy
- 1/2 cup drippings
- 1 cup strong beef stock
- 2 tablespoons cornstarch
- 1/4 cup cold water
Instructions
- Remove your roast from all its packaging and let it sit out for an hour until it’s about room temperature.
- Place a roasting rack (I use oven safe metal cooling racks for smaller roasts) into a cookie sheet that has at least a 1/2 inch high rim. Place the roast on top of the baking sheet, fat cap side UP.
- Combine the butter and herbs ( minus the garlic cloves) together in a bowl.
- Using a sharp little knife, cut small slits into the top fat cap of the roast in an even placement through the top. Take the garlic cloves, slather them in some of the butter herb mixture and push them into the roast, making sure they are completely stuffed into the beef.
- Take the remaining butter and cover the roast completely.
- Preheat your oven to 450°F.
- Now we want to sear the roast. Place it in the 450 degree oven for 10 minutes.
- After 10 minutes, turn down the oven to 325 degree and cook some more.
- In the post above are some guidelines for cooking beef roasts. You want to pull the roast out a minimum of 10 degrees BEFORE you hit these temperatures.
- Once the roast is out, tent it with foil, and let it sit for 10-15 minutes.The temperature will rise at least another 10 degrees if you cover it in foil. It also lets the juices set and flow back to the meat.
- Remove all of the drippings and place in a saucepan Make sure to scrape the good browned bits off the bottom of the cookie sheet! Add half of the broth, then bring to a boil and boil for 2 minutes.
- Add the remaining beef broth. If needed, add some more broth or bouillon powder to taste.
- Whisk the cornstarch and water together, then whisk into the pot.
- Cook until thickened.
- Slice the eye of round into thin slices and serve.
Nutrition
Nutrition information is automatically calculated, so should only be used as an approximation.

PIN THIS RECIPE to your DINNER RECIPES Board and Remember to FOLLOW ME ON PINTEREST!


Kim says
I followed the directions exactly, but when do you use the garlic cloves?
Kim says
I also cooked my roast which was 3.2 pounds for an hour and 30 minutes temperature reading was 170+
Kim says
I read the directions again, oops missed it
Naomie Moore says
Step 4 in the instruction section.
Angela says
Followed exactly. Mine was 2.2 lbs so it cooked to 120* 1 hour 10 mins. Very tender. Amazing taste.
Gerry M. says
This recipe is a keeper. Followed instructions and came out absolutely delicious!*****
It’s definitely a 5 star rating 😋
Shirl Scott says
Perfect recipe. Great instructions. I put a thermometer in roast before putting in oven and watched the temperature. For medium rare, it was ready after the 1 hour in turned off oven.
Meaghan says
Do not follow the gravy recipe! It caused a flash fire in my kitchen. I followed it to a T and even had my husband check the recipe.
EJ Sheldon says
It’s unfortunate you had that experience! The author is using a basic and quite standard method for making gravy, so you had to have had some other issue present. Perhaps you dripped a bit of fat or there was something stuck on your burner or the bottom of the saucepan to which you transferred the drippings and pan fond. There is nothing in the suggested technique that would cause a flash fire. But don’t let it deter you from making this delicious pan gravy, in future! If your roasting pan has a bit of depth to it and is safe to use on top of hot burners, you can even make the gravy right in the roasting pan and eliminate the need to transfer the drippings until the gravy is finished. Good luck!
Naomie Moore says
How did that happen? This is a basic gravy preparation. How do your prepare your gravy from drippings / scratch?
Jenn says
Hi, I’m just trying this recipe and method tonight. I’m curious, do you cook the roast uncovered the whole time it’s in there? Or just after the 10 min high temperature sear?
Thank you
Kristin says
I was wondering the same thing. I just took mine out of the oven and I feel I should have covered it. It looks a little burnt. But, maybe it is ok.