
This post may contain affiliate links. Please read our privacy policy for additional information.
Everyone has their favorite Girl Scout cookie, but the pain of waiting for them to come around is almost too much to bear. Instead of waiting, why not learn how to make your very own Samoa Cookies?
For a different type of cookie, why not try these delicious Brownie Cookies or these Red Velvet Cookies! If you love coconut, make sure to check out the ultimate Coconut Cookies recipe!
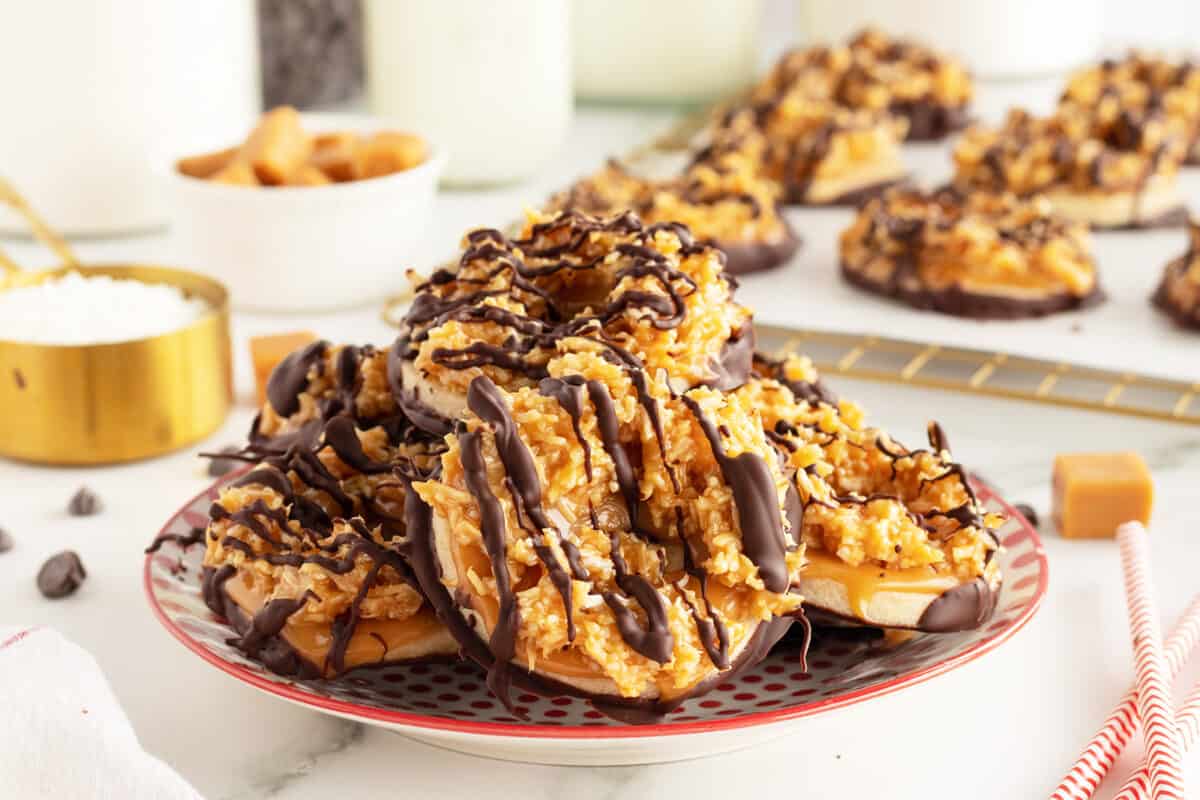
Samoa Cookies
Girl Scout cookies are a time-honored North American classic; not only do you get to eat delicious cookies in all sorts of flavors, but you also get to support a worthy cause!
However, while it is nice to feel good about your guilty junk food purchases, Girl Scout cookies are infamously expensive.
So, instead of having to cough up your life savings just for some cookies, here is everything you need to know to be able to make your own Girl Scout Samoa cookies from scratch.
Tips For Microwaving Chocolate
One of the big issues that tend to crop up when trying to bake something involving melted chocolate is how to get it properly and evenly melted.
When the chocolate gets added to the batter itself, it isn’t a problem, as the batter helps to insulate the chocolate and allows for an even melting in the oven.
However, when the chocolate goes on the top, you need to be super careful to avoid scorching the chocolate when you melt it.
While there are a lot of surprisingly intricate methods out there, by far, the easiest thing to do is just to melt it in the microwave.
In a bowl with all of your chocolate, just microwave it for 30 seconds at a time, taking it out after every “Ding!” to stir it all together and get it moved around.
As long as you stop just before you think that everything is completely melted, your chocolate shouldn’t scorch or burn, giving you a deliciously melted, smooth chocolate.
Easiest Way To Cream Butter And Sugar If You Don’t Have A Stand Mixer
Creaming together butter and sugar is the first step in any good cookie recipe, but it can actually be a real challenge if you don’t have a stand mixer.
A strong stand mixer with a paddle attachment makes short work of butter and sugar, so long as the butter is not totally rock hard from the fridge.
By hand, though, it is way harder.
The secret to managing to get the butter and sugar creamed together by hand is to make sure that the butter isn’t cold from the fridge – take it out well in advance and allow it to soften.
You don’t want to let it melt, though – if you live somewhere really warm, make sure that the butter doesn’t actively melt, as otherwise, the texture of your cookies will be ruined.
Melted butter makes the cookie batter run in the oven, stopping it from setting up properly, so make sure to use room temperature butter only.
Alternatives To Semi Sweet Dark Chocolate Baking Squares
Semi-sweet dark chocolate baking squares are easily the best melting chocolate for use in this recipe, but they are not universally available.
Despite their incredible usefulness, not every store keeps them in stock, so what could you use instead?
- Semi-Sweet Chips
Sticking with the same level of sweetness, semi-sweet chocolate chips melt almost as well as baking squares, albeit a little bit faster.
If you use this, make sure that you are really careful, as the chips will melt quickly, meaning that they might burn if you aren’t watching.
- Regular Dark Chocolate
Instead of buying dedicated baking squares or baking chips, you could just use regular dark chocolate bars instead.
Just buy whatever percentage of cocoa you like in your dark chocolate, and then chop the bars up using a knife. Don’t worry about getting it even, either, as it will all melt together in the end.
- Blend of Milk and Dark
If you have a bit more of a sweet tooth, feel free to use a mix of both dark and milk chocolate together. The combination should add some really nice flavor notes, as well as provide a good balance of sweetness for those that prefer their desserts to be a bit more sugary.
Looking for more delicious Cookie recipes? Try these out:
• Soft & Fluffy Banana Cookies
• Old-Fashioned Gumdrop Cookies
• Cookie Dough Cupcake Bites Cookies
Happy Cooking
Love,
Karlynn

Pin This Recipe To Your Cookies & Desserts Recipes Board and Remember to FOLLOW ME ON PINTEREST!


Samoa Cookies
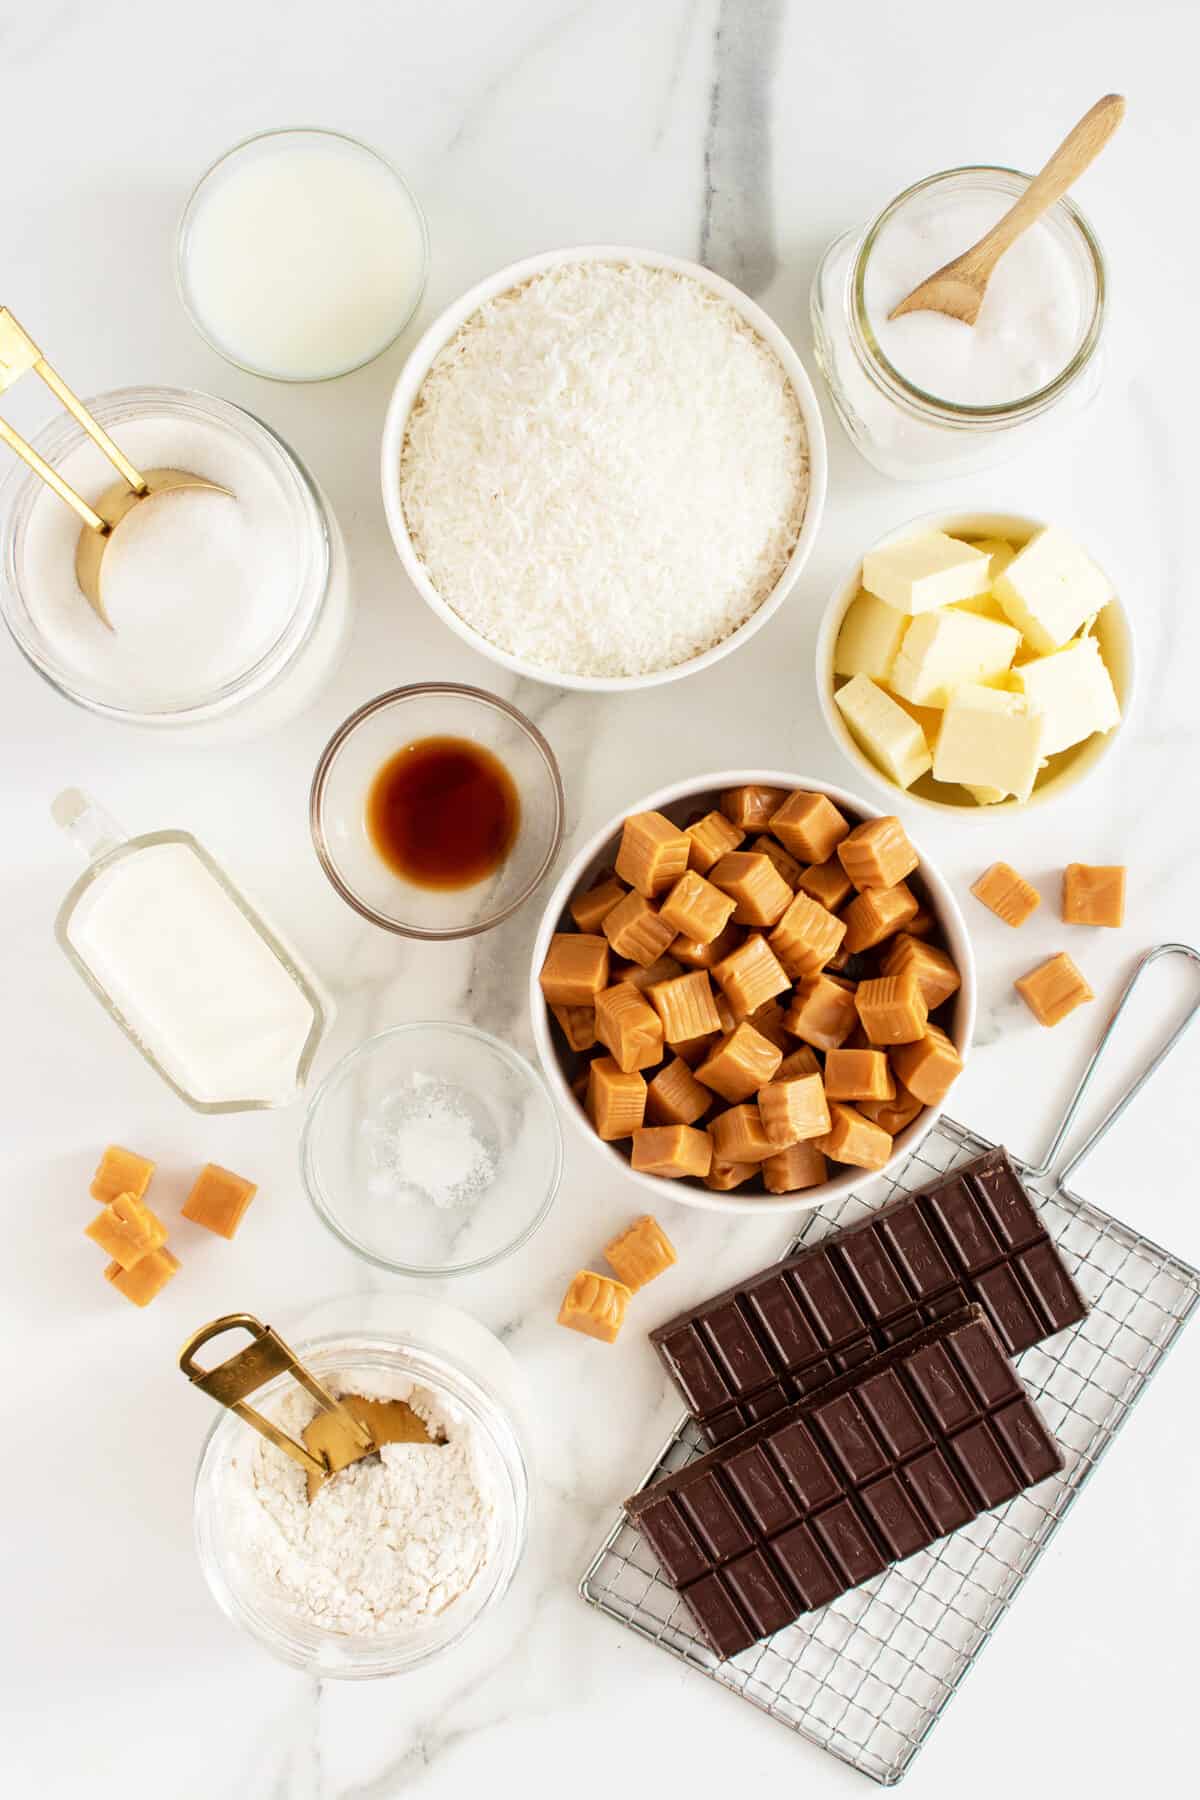
Ingredients
Cookies
- 1 cup butter, (at room temperature)
- 2 cups all-purpose flour
- 1/2 cup sugar
- 1/4 teaspoon baking powder
- 1/2 teaspoon salt
- 2 Tablespoons milk
- 1/2 teaspoon vanilla extract
Topping
- 3 cups shredded sweetened coconut
- 538 grams store-bought soft caramels, (individually wrapped about 60)
- 3 Tablespoons cream
- 1/4 teaspoon salt
- 8 ounces semi sweet dark chocolate baking squares, (chopped)
Instructions
Cookies
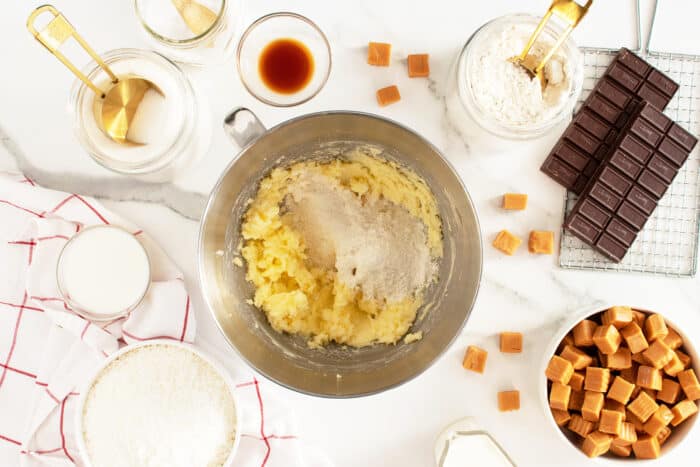
- In a stand mixer, cream the butter and sugar together until light and fluffy.
- In a separate medium bowl, whisk together the flour, baking powder and salt.
- In three increments, add the flour mixture to the creamed butter, mixing between each addition and scraping down the sides of the bowl as needed to ensure it is well mixed.

- Add in the milk and vanilla extract slowly mixing until combined and the dough begins to stick together in large pieces.
- Then using your hands take the dough and divide it in half, pressing it together into two disks. Wrap the disks in plastic wrap and refrigerate them until firm, Minimum of 1 hour.
- Preheat the oven to 350º and line a baking sheet with parchment paper.
- Once the dough has chilled, lightly four your work surface and roll each disk out until they are about 1/8-inch thick.
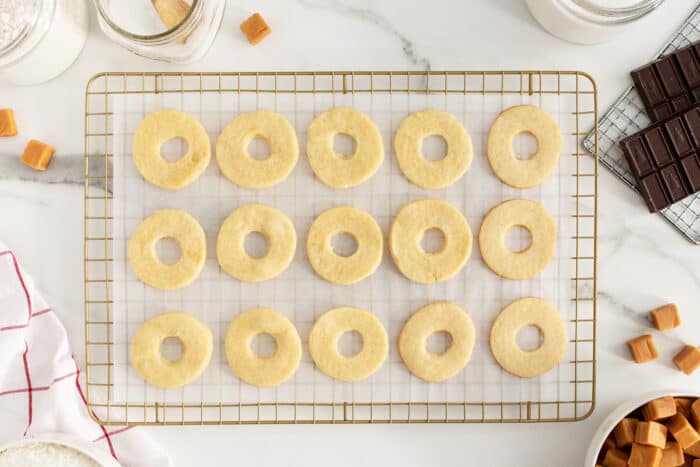
- Using a doughnut shaped cookie cutter, cut out as many cookies as you can fit. Place the cut-out cookies on your lined baking sheet and repeat with remaining dough, re rolling it and cutting out more cookies until all dough is used.
- Bake for 5-6 minutes, rotate the baking sheet and then bake for another 5-6 minutes. The cookies should be a light golden brown. Transfer the cookies to a wire rack to cool.
Cookie Topping
- Preheat your oven to 350°
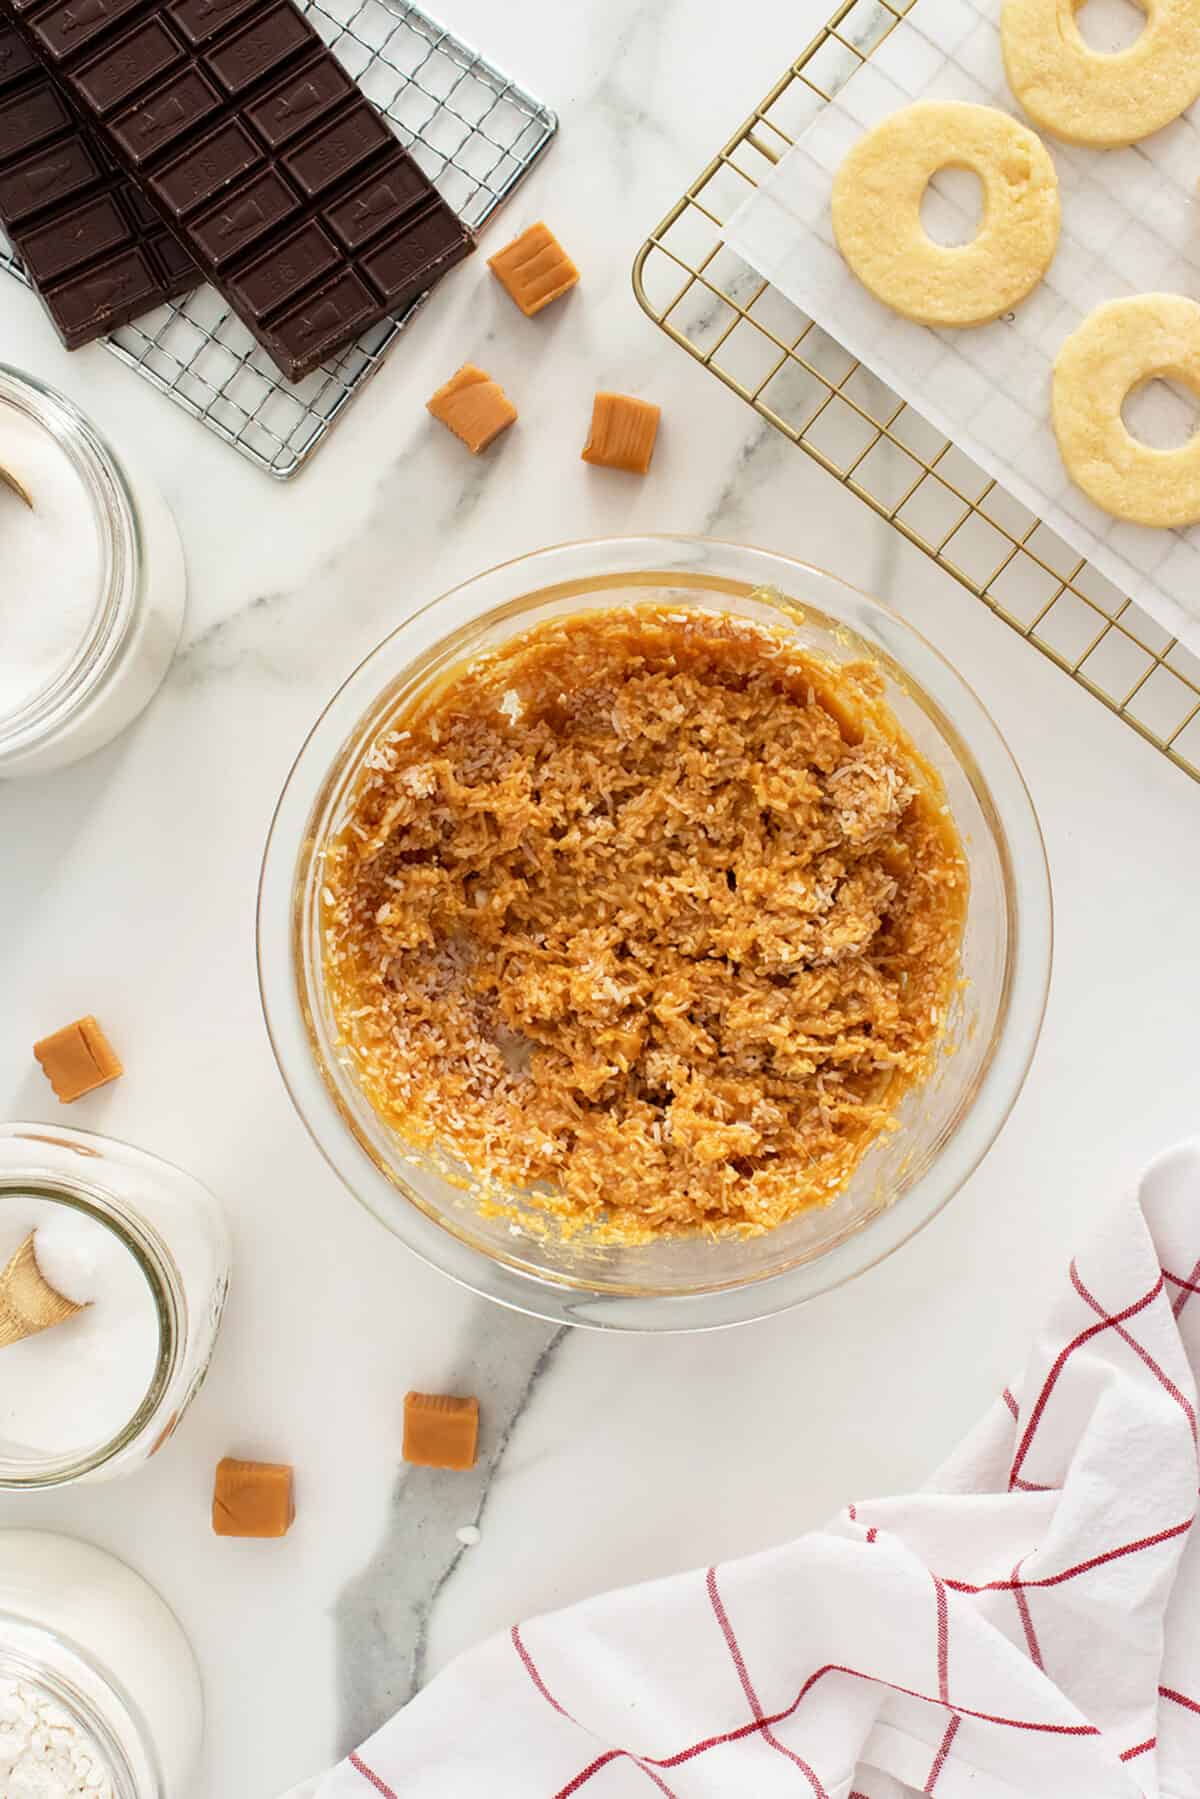
- On a large baking sheet lined with parchment paper spread the coconut flakes out and bake for about 6-8 minutes, stirring every 1-2 minutes until lightly golden. Watch closely that it does not burn. Remove the toasted coconut from the oven placing it in a large bowl and set it aside.
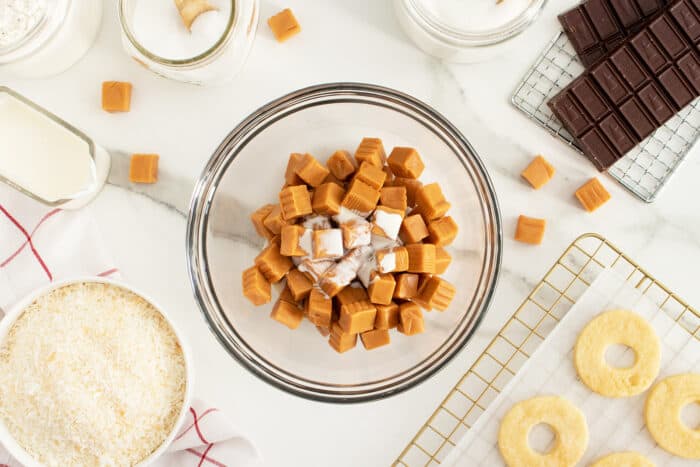
- In a microwaveable bowl unwrap each caramel and place it into the bowl. Add the cream and salt. Microwave in 30 second increments, stirring in between until well mixed. About 2 minutes total.
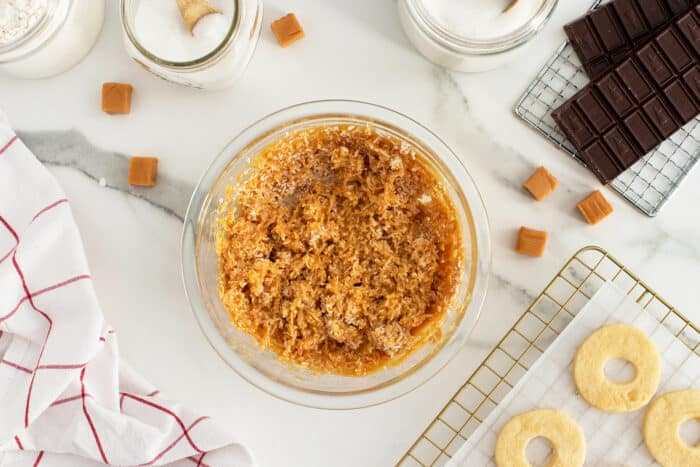
- Add ¾ of the caramel with the toasted coconut in the large bowl.
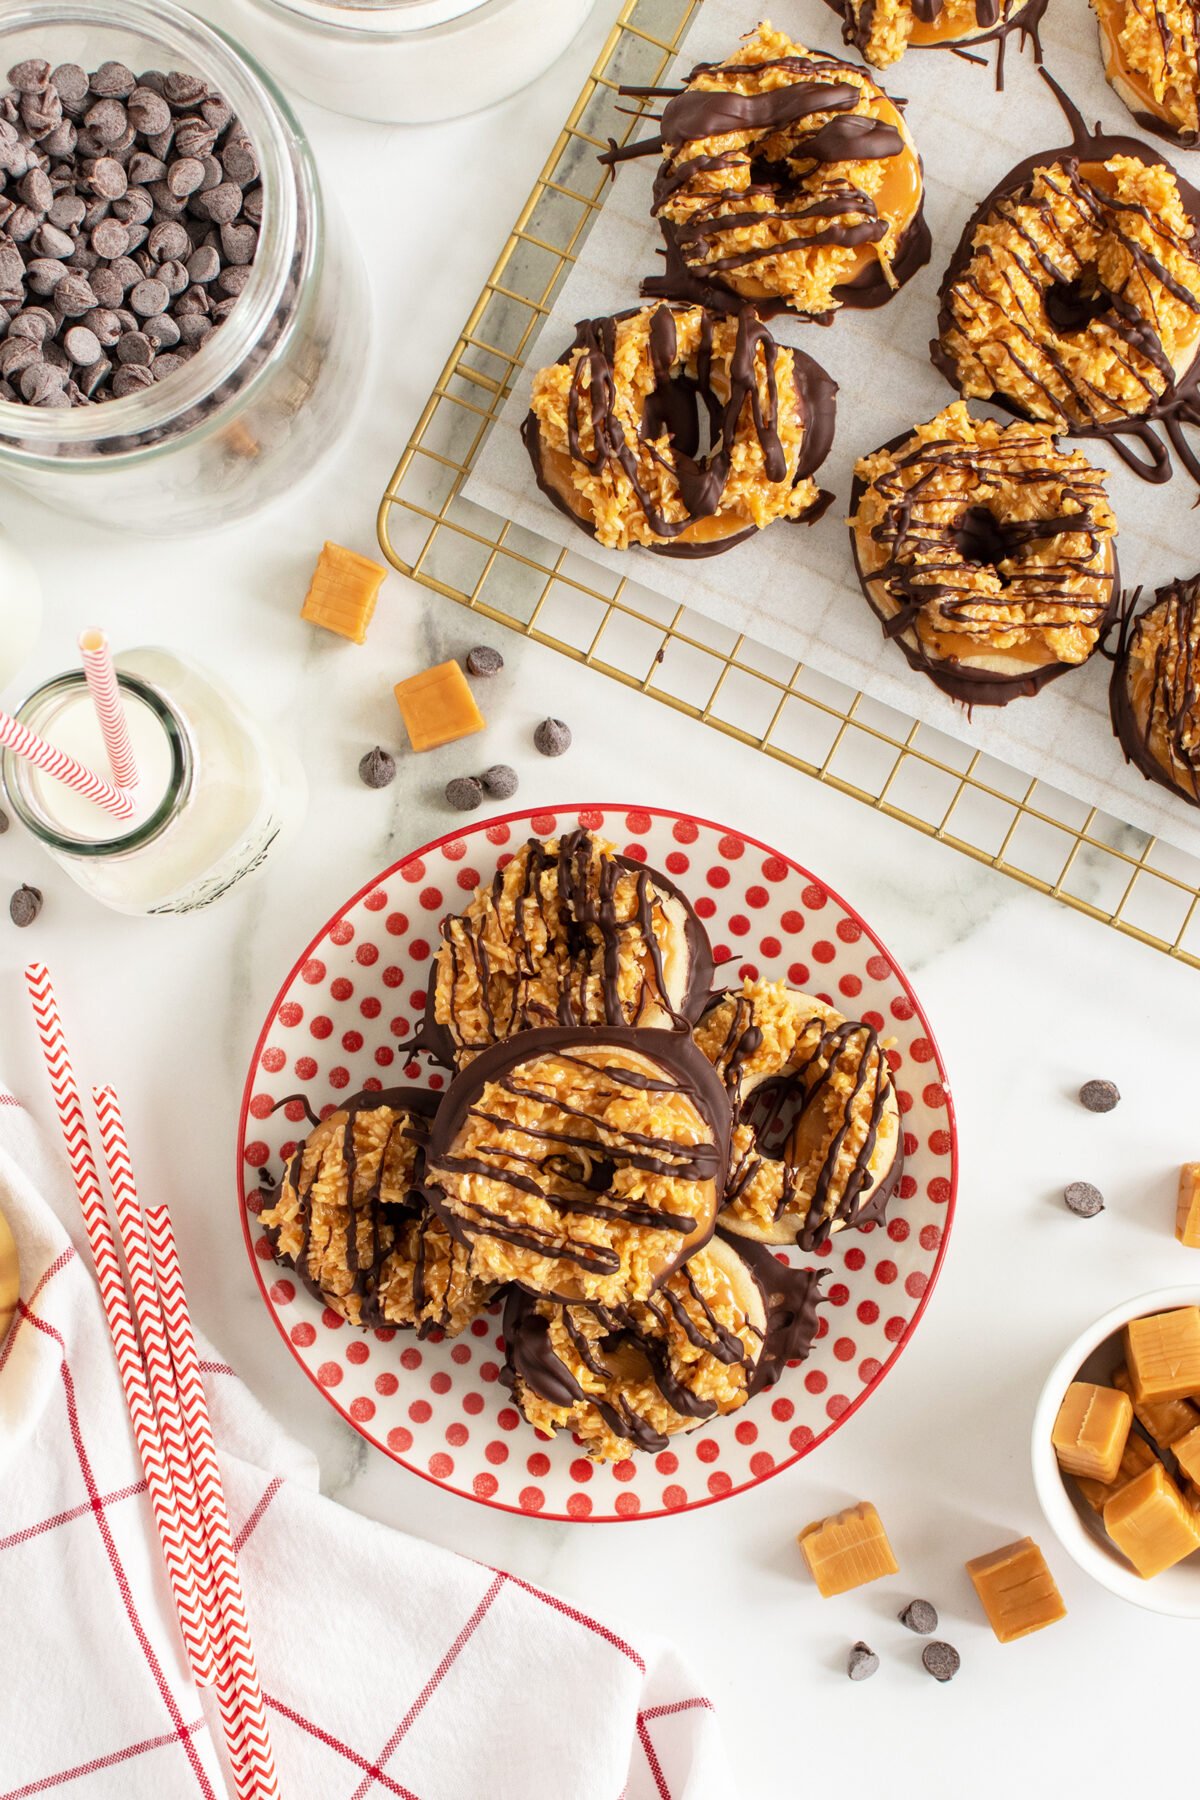
- Spread the remaining ¼ cup of caramel on top of each of the cooled cookies using a spoon.
- Then add the caramel coconut mixture to the top of the cookies following the circle shape do not cover the middle. If the caramel mixture thickens up too much you can re heat it in the microwave for another 20 seconds.
- Place the cookies in the fridge to cool for about 30 minutes.
- Add the chopped dark chocolate to a medium sized microwaveable bowl and microwave for 30 second intervals then stirring, repeating until the chocolate is liquid.
- Take a cookie and dip the bottom in the chocolate and place them on a wax paper-lined baking sheet. Repeat for all the other cookies.
- Drizzle the tops of the cookies with the melted chocolate. Refrigerate the cookies for 15 minutes until the chocolate hardens fully.
- Enjoy!
Notes

Nutrition
Nutrition information is automatically calculated, so should only be used as an approximation.


Michelle Bagg says
I haven’t made these yet… I’m short of a few ingredients and I’ll need the cookie cutter! But I’m going to get them tomorrow, I can’t wait to make these! I also remember a cookie like this from my childhood!! These are going to be YUM!! But I do have a question… Can I make them without cutting a hole in the middle?? I’m in a small town and I’m not sure if I’ll be able to find that kind of Cookie Cutter! I’d also like to add that I completely Adore you, and Thank You for all of the recipes, and all of the hard work you do!!
g says
these look similar to cookies I used to buy years ago; it seems when ever you find something you really like, they get rid of it,sigh! Thanks for posting Hope you are loving your farm 🙂