This post may contain affiliate links. Please read our privacy policy for additional information.
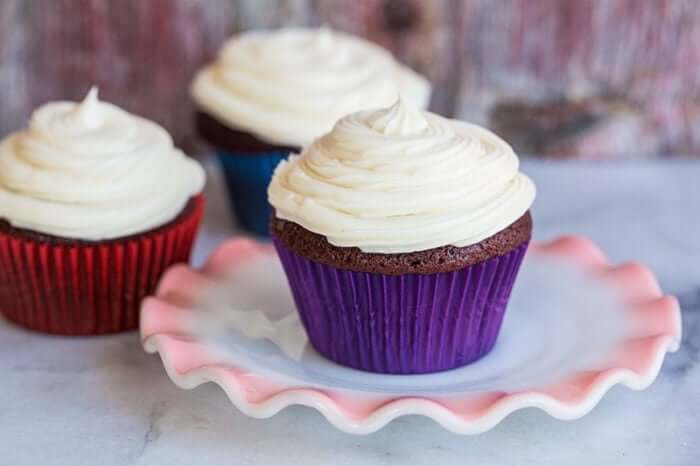
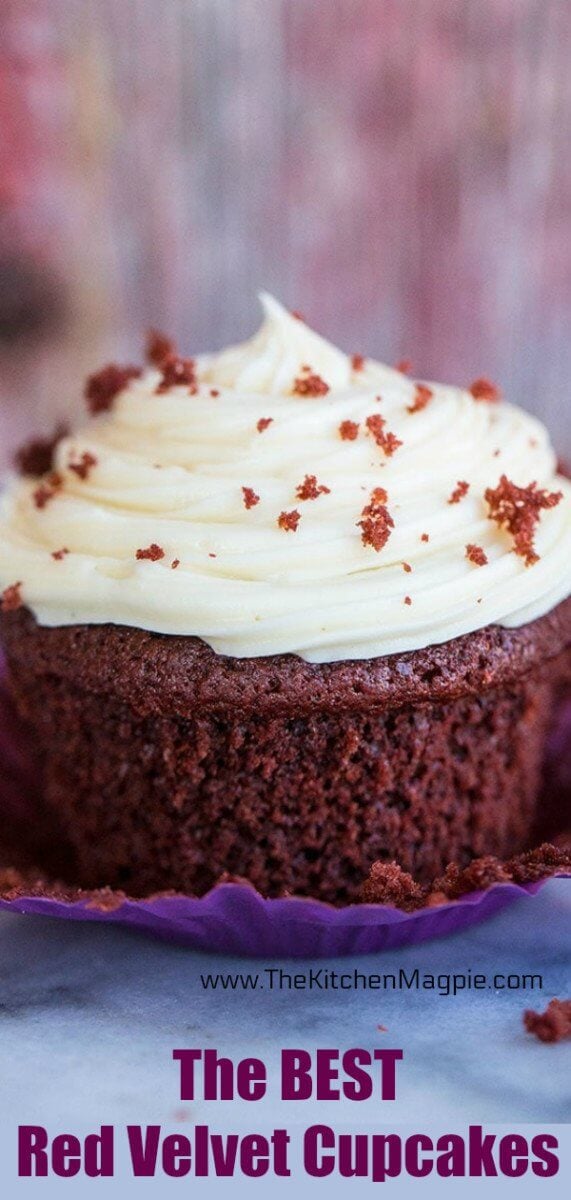
I can personally tell you that these are The BEST Red Velvet Cupcakes with Cream Cheese Buttercream Frosting – because the cupcake recipe is tried, tested and true, and the cream cheese icing recipe is one of my secret weapons!

How to Make Red Velvet Cupcakes
This red velvet recipe is a McCormick recipe, one of the long time recipes out there for red velvet. I didn’t grow up eating red velvet cake, or cupcakes, so I decided to test out a popular recipe and pair it with my Cream Cheese Frosting. Red velvet cupcakes are my daughters very favourite cupcake of all, she will choose red velvet cake, cupcakes, cake pops, you name it that kid will eat it! So it was time to try them out, just in time for the Christmas holidays.
Tips and Tricks for Making Red Velvet Cupcakes
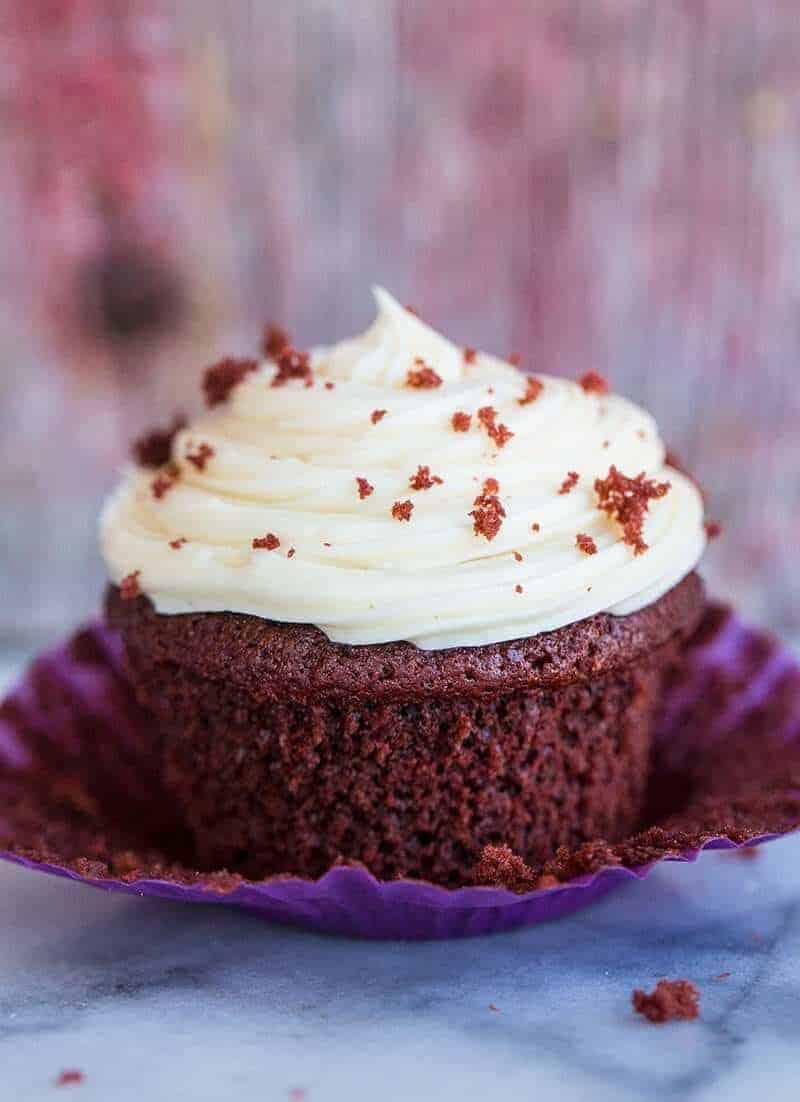
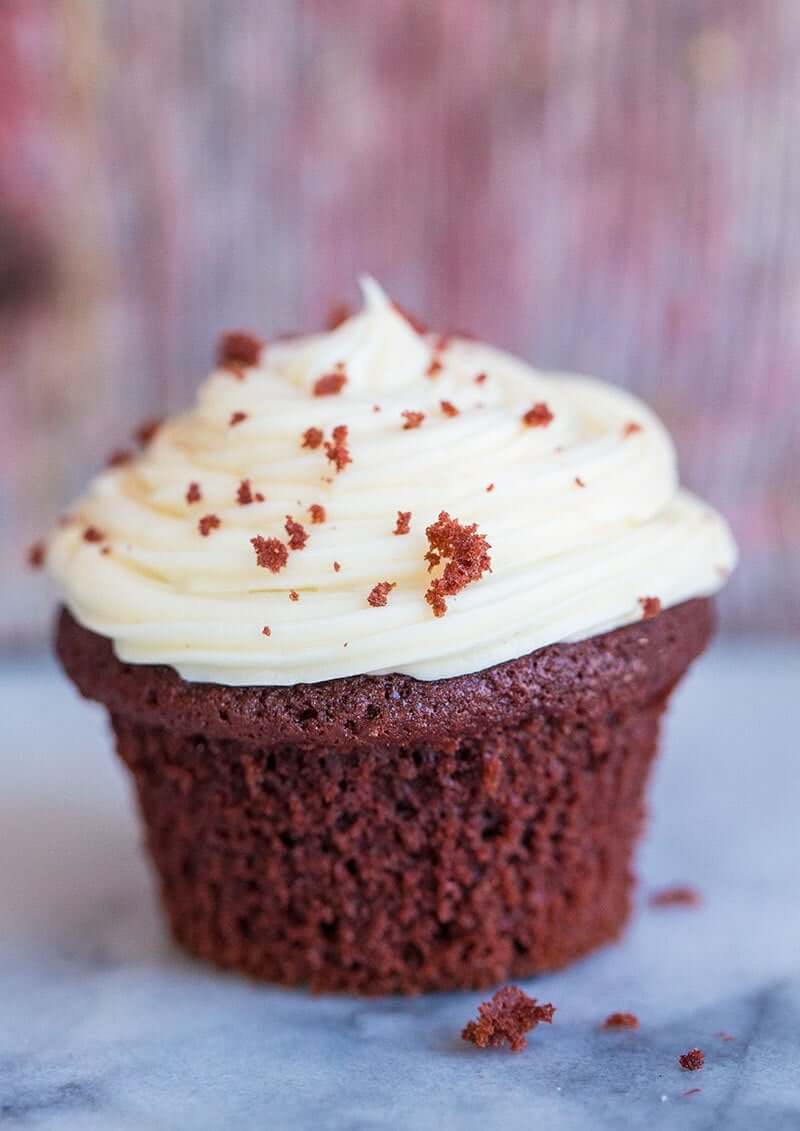
- I changed something in the recipe, of course!, I always have to improve on things or I wouldn’t be me haha! The only thing I changed in this recipe is substituting in some cornstarch, which results in a seriously incredible crumb. Take a peek at the photos above and below and just look at that crumb. It looks like a cake mix! Which, let’s admit it, is the ultimate goal when baking cupcakes at home.
- Don’t over mix the batter, this is really important.
- Use a #8 disher spoon ( looks like a cookie scoop but it is the size of an ice cream scoop) to make the cupcakes. You get perfectly dome topped cupcakes with the right amount of batter.
- You can get from 24-30 cupcakes with this recipe, it really depends on the size of your muffin tins. Some are shallower tins and some are deeper and hold more batter.
- Always use cupcake liners with red velvet!
And of course, you always have to pair it with my cream cheese frosting, as I humbly think it’s the best. And it is, because SALTED BUTTER!! Which my longtime readers already know is the secret to my famous buttercream frosting recipe. You need that salt to cut the sweet for the perfect balance.
I give the recipe 5 stars with my addition of cake flour and topped with my icing, and it’s the only one for red velvet cupcakes that I am going to use! Red velvet is so perfect for the holiday season too, I bet Santa would love a red velvet cupcake left on a plate with a glass of milk! *hint *hint
Happy Baking!
Love, Karlynn

The BEST Red Velvet Cupcakes with Cream Cheese Buttercream Frosting
Ingredients
Red Velvet Cupcake Ingredients
- 2 1/4 cups flour
- 1/4 cup cornstarch
- 1/2 cup unsweetened cocoa powder
- 1 teaspoon baking soda
- 1/2 teaspoon salt
- 1 cup butter, softened
- 2 cups white sugar
- 4 eggs
- 1 cup sour cream
- 2 tsp vanilla extract
- 1/2 cup milk
- one 1 ounce bottle red food coloring
Two Batches of My Cream Cheese Frosting
Instructions
- Preheat your oven to 350 °F. Line (2) 12 well muffins tins with paper liners.
- In a large bowl, whisk together the flour, cornstarch, cocoa powder, baking soda and salt until combined. Set aside.
- Beat the butter and sugar with a paddle attachment on a mixer on medium speed until the mixture is light and fluffy. Beat in the eggs, one at a time, until fully incorporated. Mix in the sour cream, milk, food coloring and vanilla.
- Gradually beat in the flour mixture on low speed until just blended. Do not over beat the batter!
- Using a #8 disher spoon ( my trick for muffins and cupcakes, it looks like a large ice cream scoop) scoop a full scoop into the muffins tin liners, leaving the rounded top from the scoop on the top.
- Bake the cupcakes in your preheated oven for 20 minutes or until a toothpick or a cake tester inserted into the middle of a cupcake comes out clean.
- Cool in the muffin tins for 5 minutes then remove from the pans and transfer to a wire baking rack to cool completely.
Notes
Nutrition
Nutrition information is automatically calculated, so should only be used as an approximation.

Pin this to your Desserts Board and remember to FOLLOW ME ON PINTEREST for more great recipe ideas!


Tess says
The corn starch added makes for cake flour? The sour cream makes for the soda and vinegar? Why not buttermilk? I’m curious?
Melissa D Hucks says
Where’s the frosting recipe, I couldn’t pull it up. They look delicious, want to try them once I get the frosting recipe.?
gayle smith says
If I hadn’t been reading your website for so long and known your recipes are always bang on and homemade I would call you a liar and tell you those are cake mix! KArlynn those look bloody fantastic and I can’t wait to bake them up! And your forstings are always the bomb!
Karlynn says
Haha!! Well, I’m glad you trust me! These are seriously awesome cupcakes, all they needed was a little refining from the original recipe!