This post may contain affiliate links. Please read our privacy policy for additional information.
Chocolate mousse pie is basically one of the simplest and tastiest desserts imaginable. Despite being nothing but a graham cracker crust that is filled with egg yolks, cream, and chocolate, it is still somehow insanely delicious.
For more great mousse recipes, why not try this recipe for Chocolate Mousse? Or this Low Carb Chocolate Mousse alternative?
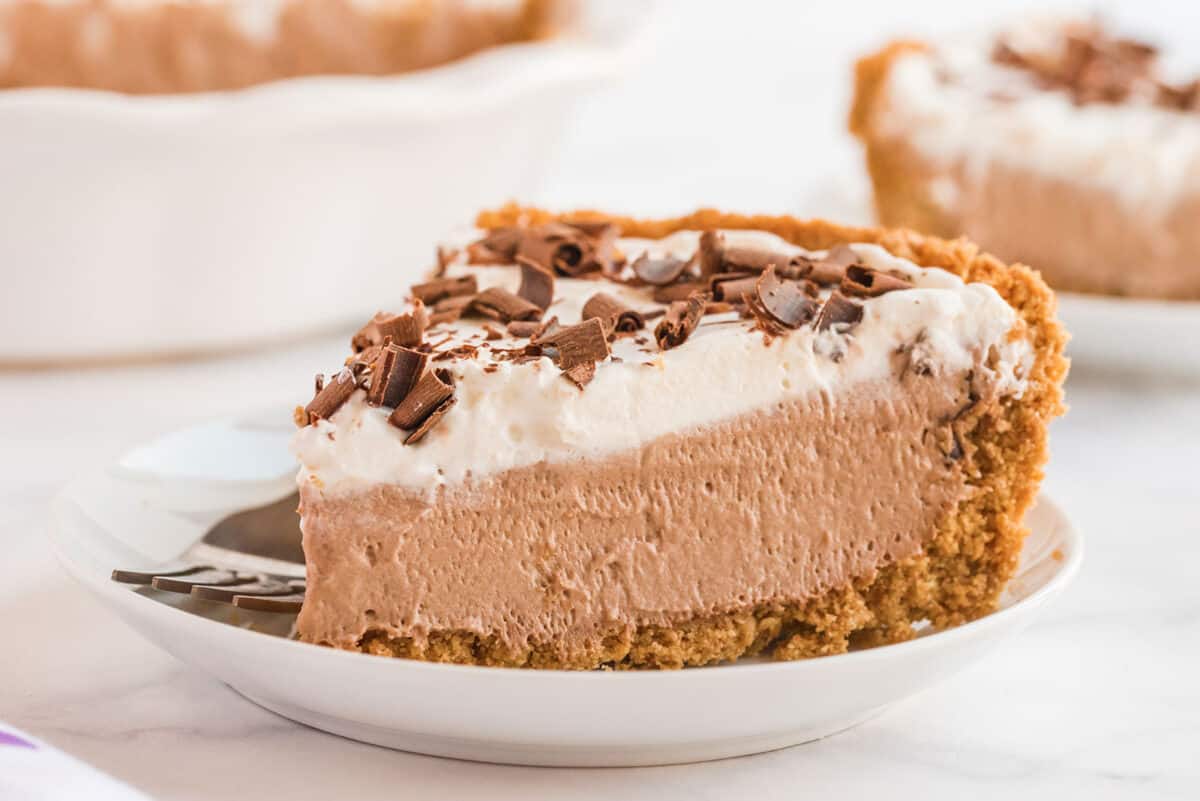
The Best Chocolate Mousse Pie
Mousse, in general, has a bit of a reputation as being something exceptionally fancy, probably due to its delicate appearance. This recipe for mousse pie, however, couldn’t be simpler.
While there are a few slightly tricky steps of temping eggs and whipping cream to the right consistency, the majority of this recipe is just melting and mixing things together.
Also, this is one of the few great desserts out there that don’t really require baking in the oven, except for the initial little bit of cooking the cracker crust. It should be served cold, solidified, and dolloped with even more cream and tons of chocolate shavings, or even sprinkles if you prefer.
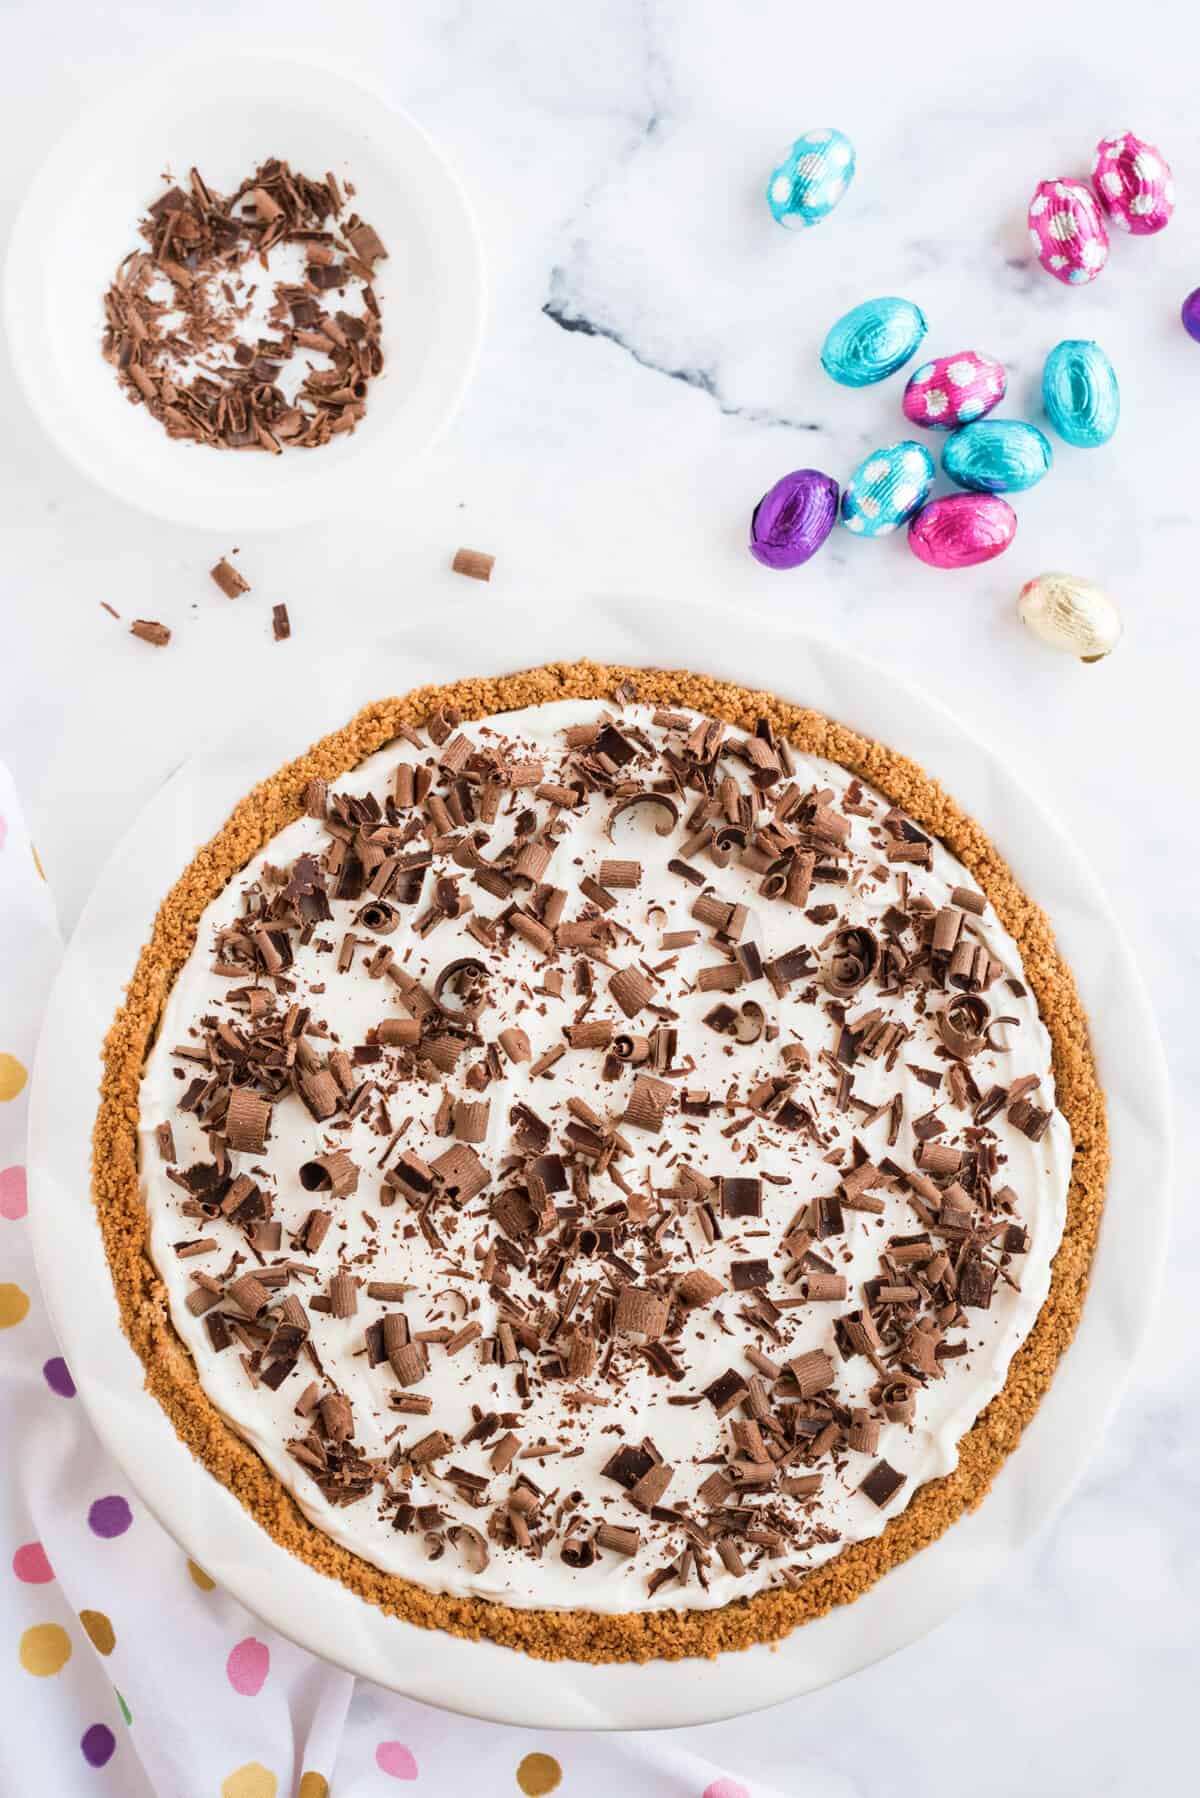
Chocolate Mousse Pie Ingredients
Make sure you look at the recipe card at the very bottom for the exact amounts so that you know exactly what to buy for this recipe.
Crust
• Graham wafers or cookie crumbs, as you prefer
• Salted butter
Filling
• Whipping cream
• Sweetened chocolate of your choice
• Egg yolks
• More whipping cream
Topping
• Whipping cream
• White sugar
• shaved chocolate bits, if you are feeling fancy
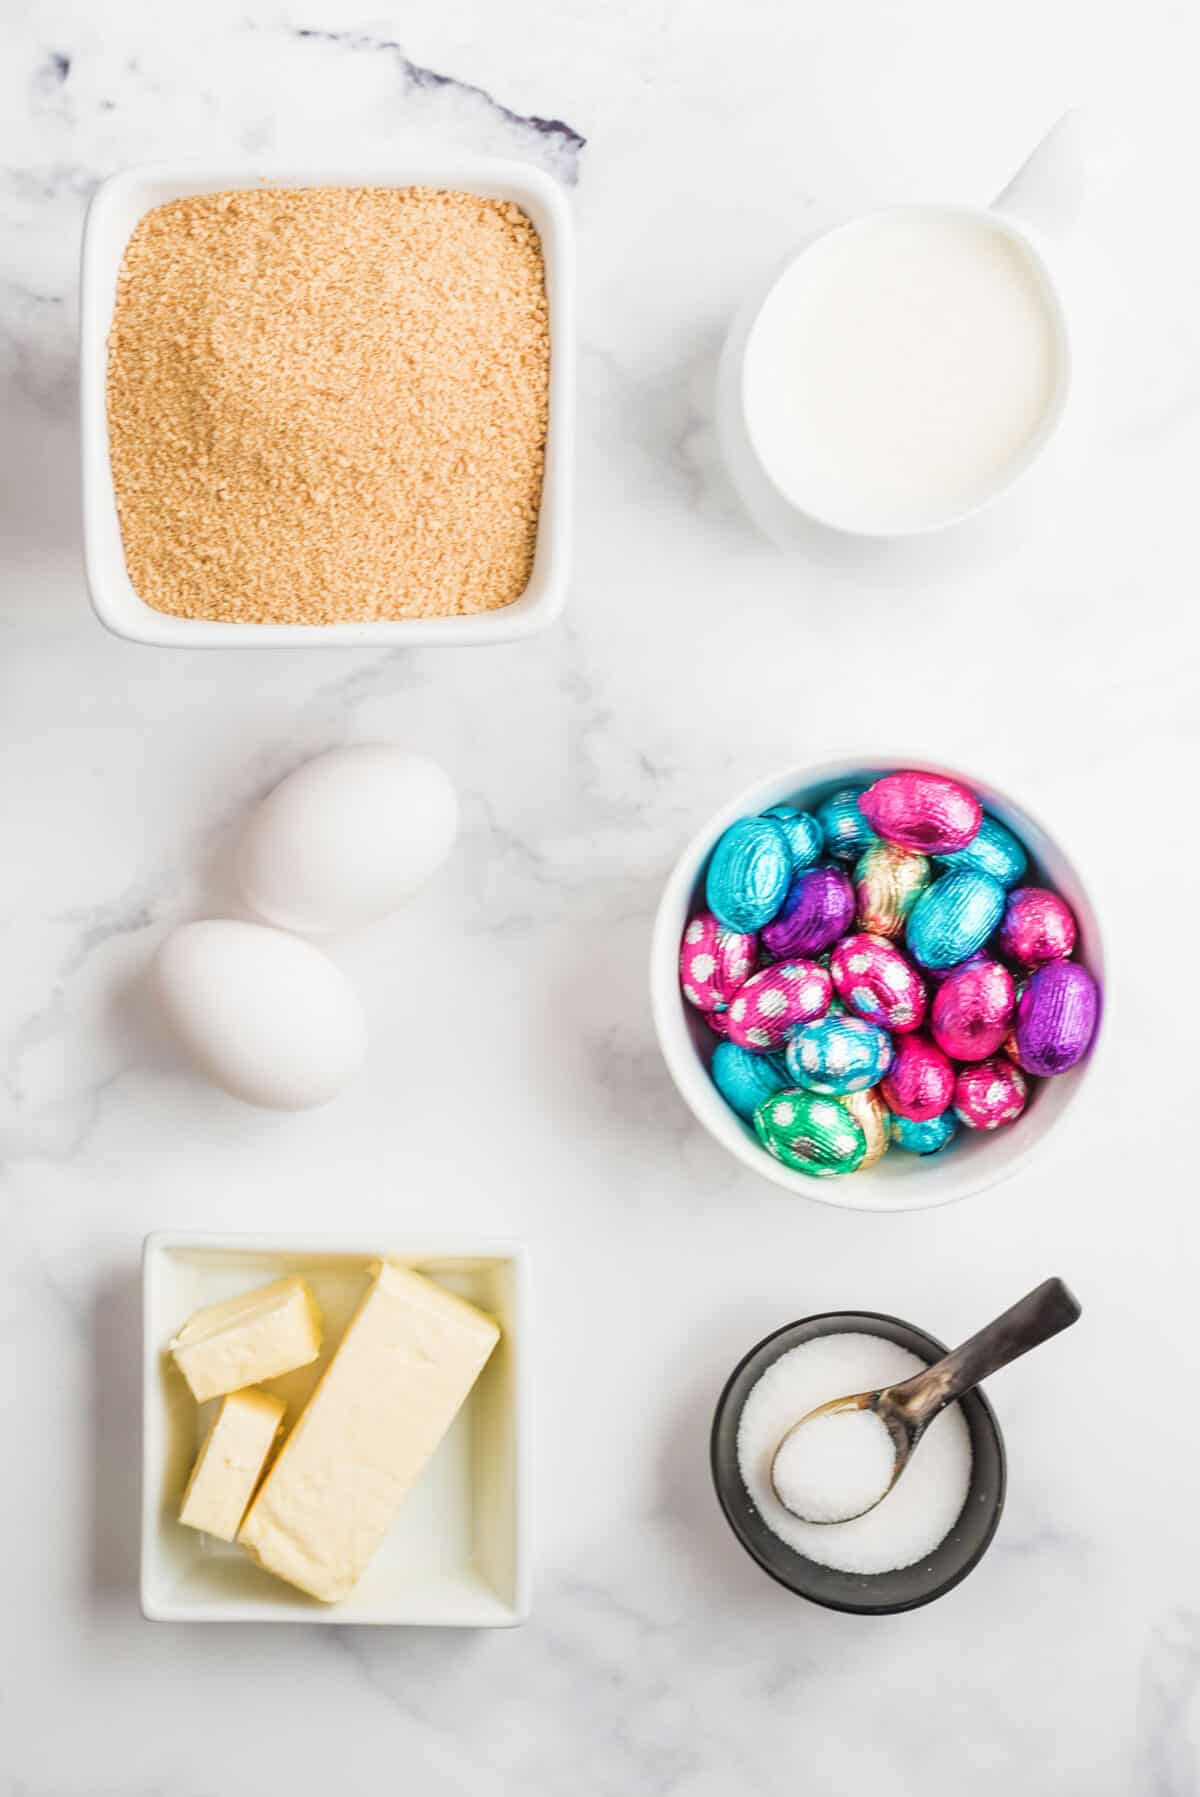
How To Make Chocolate Mousse Pie
• Prepare the pie crust by combining the graham crumbs and butter, and then pressing into a pie plate, covering the sides and bottom evenly
• Bake at 350 Fahrenheit for 10 minutes
• Melt together the chocolate and whipping cream in a thick pot on the stove over medium-high heat
• Once melted together, beat the egg yolks in until creamy
• Whisk in a few tablespoons of your chocolate mixture first to temper them
• Cook this for another 5 minutes, and then remove from the heat once thickened slightly
• When the chocolate mixture is cooled completely, beat the whipping cream in a medium-sized bowl with a mixer until it hits soft peaks
• Fold the whipping cream into the chocolate carefully, and then turn out into the prepared pie crust
• Cool in the refrigerator for 4 minutes until set; you can also leave this overnight
• Prepare the filling by beating the remaining whipping cream and sugar until soft peaks form, and then spread over the top, covering with chocolate shavings
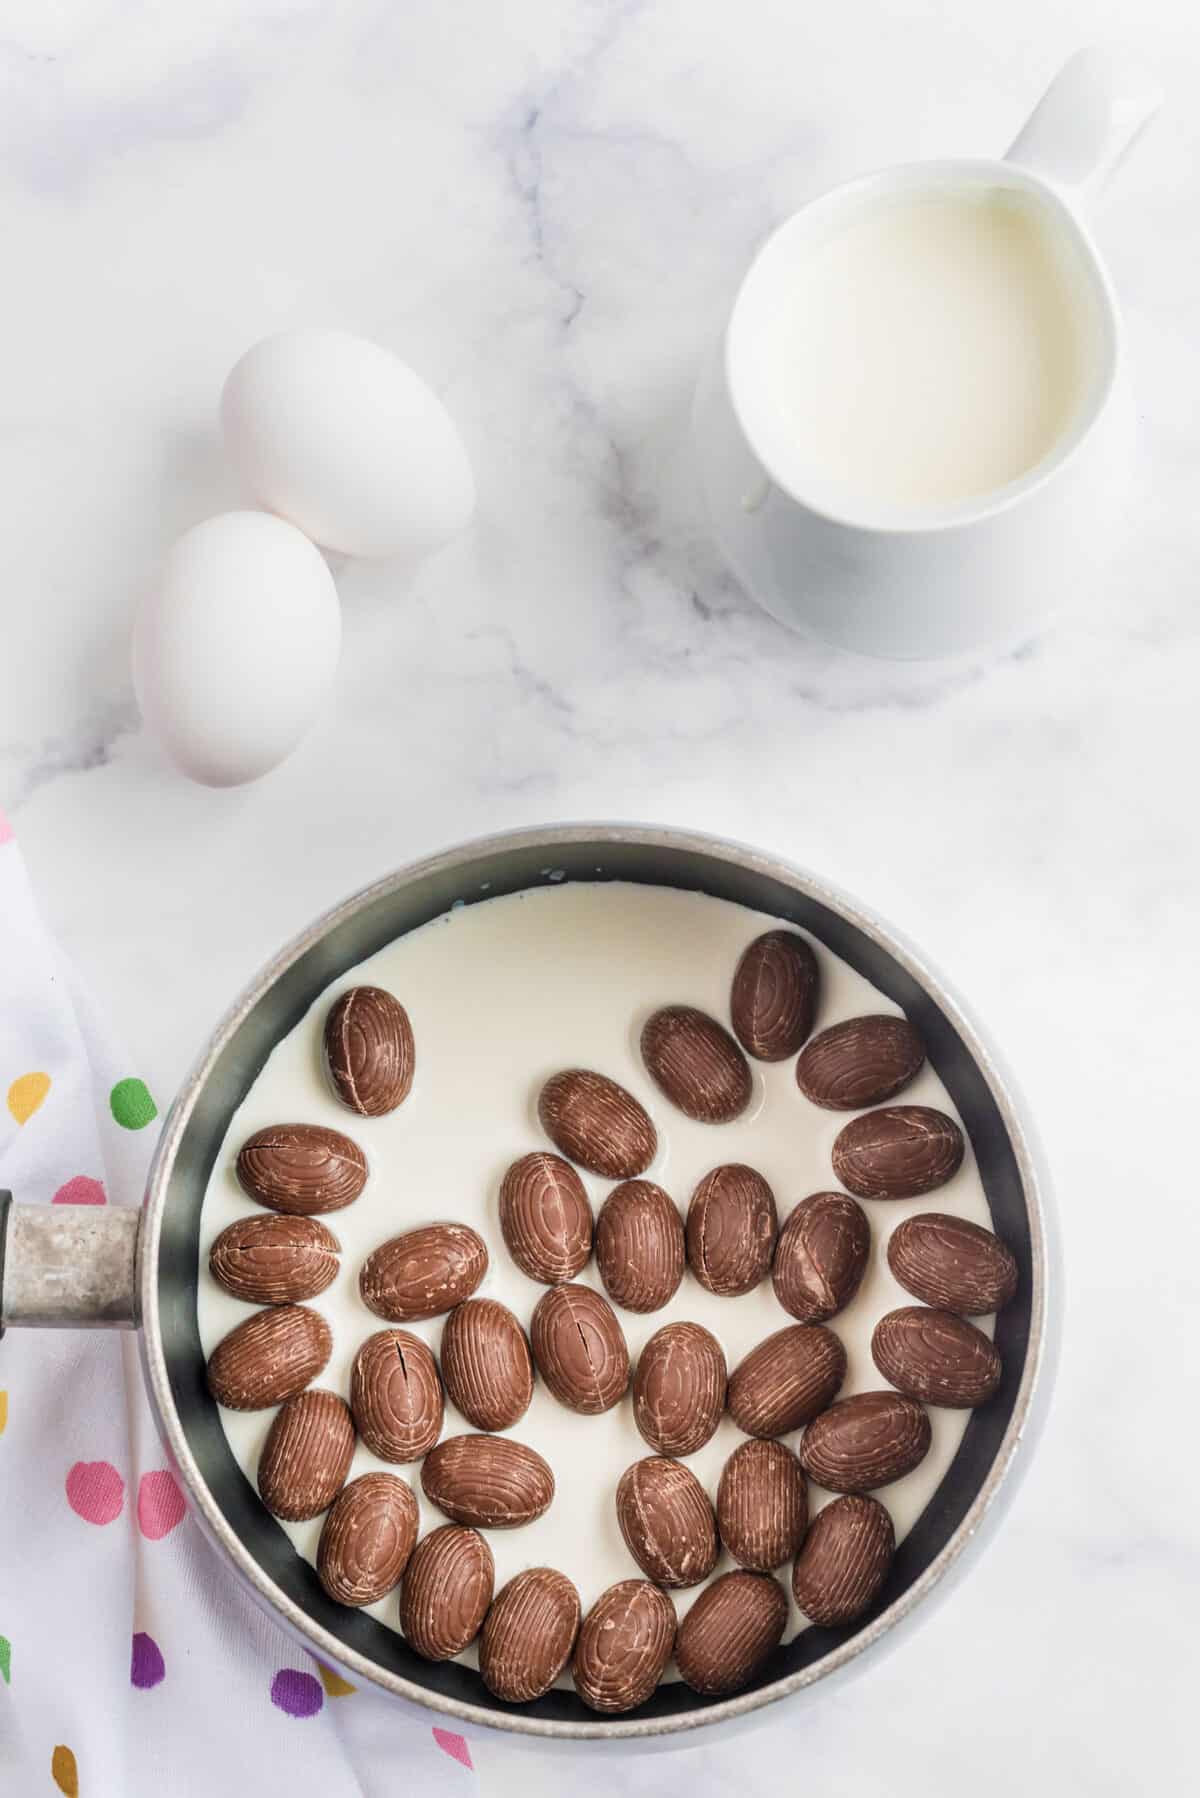
Types Of Chocolate To Use in This Recipe
This chocolate mousse pie lets you use almost any type of chocolate that you might happen to have in your pantry, just so long as it is sweetened.
As there isn’t any sugar in the actual filling ingredients, you need to make sure your chosen chocolate is sweetened enough to help balance any bitterness.
You can use literally any chocolate here; you don’t have to go out and buy the insanely expensive 80% chocolate; you can even use old Easter eggs you have leftover!
The whipping cream used in the filling isn’t just about providing texture; it also helps to counterbalance any bitterness or lower quality in the chocolate.
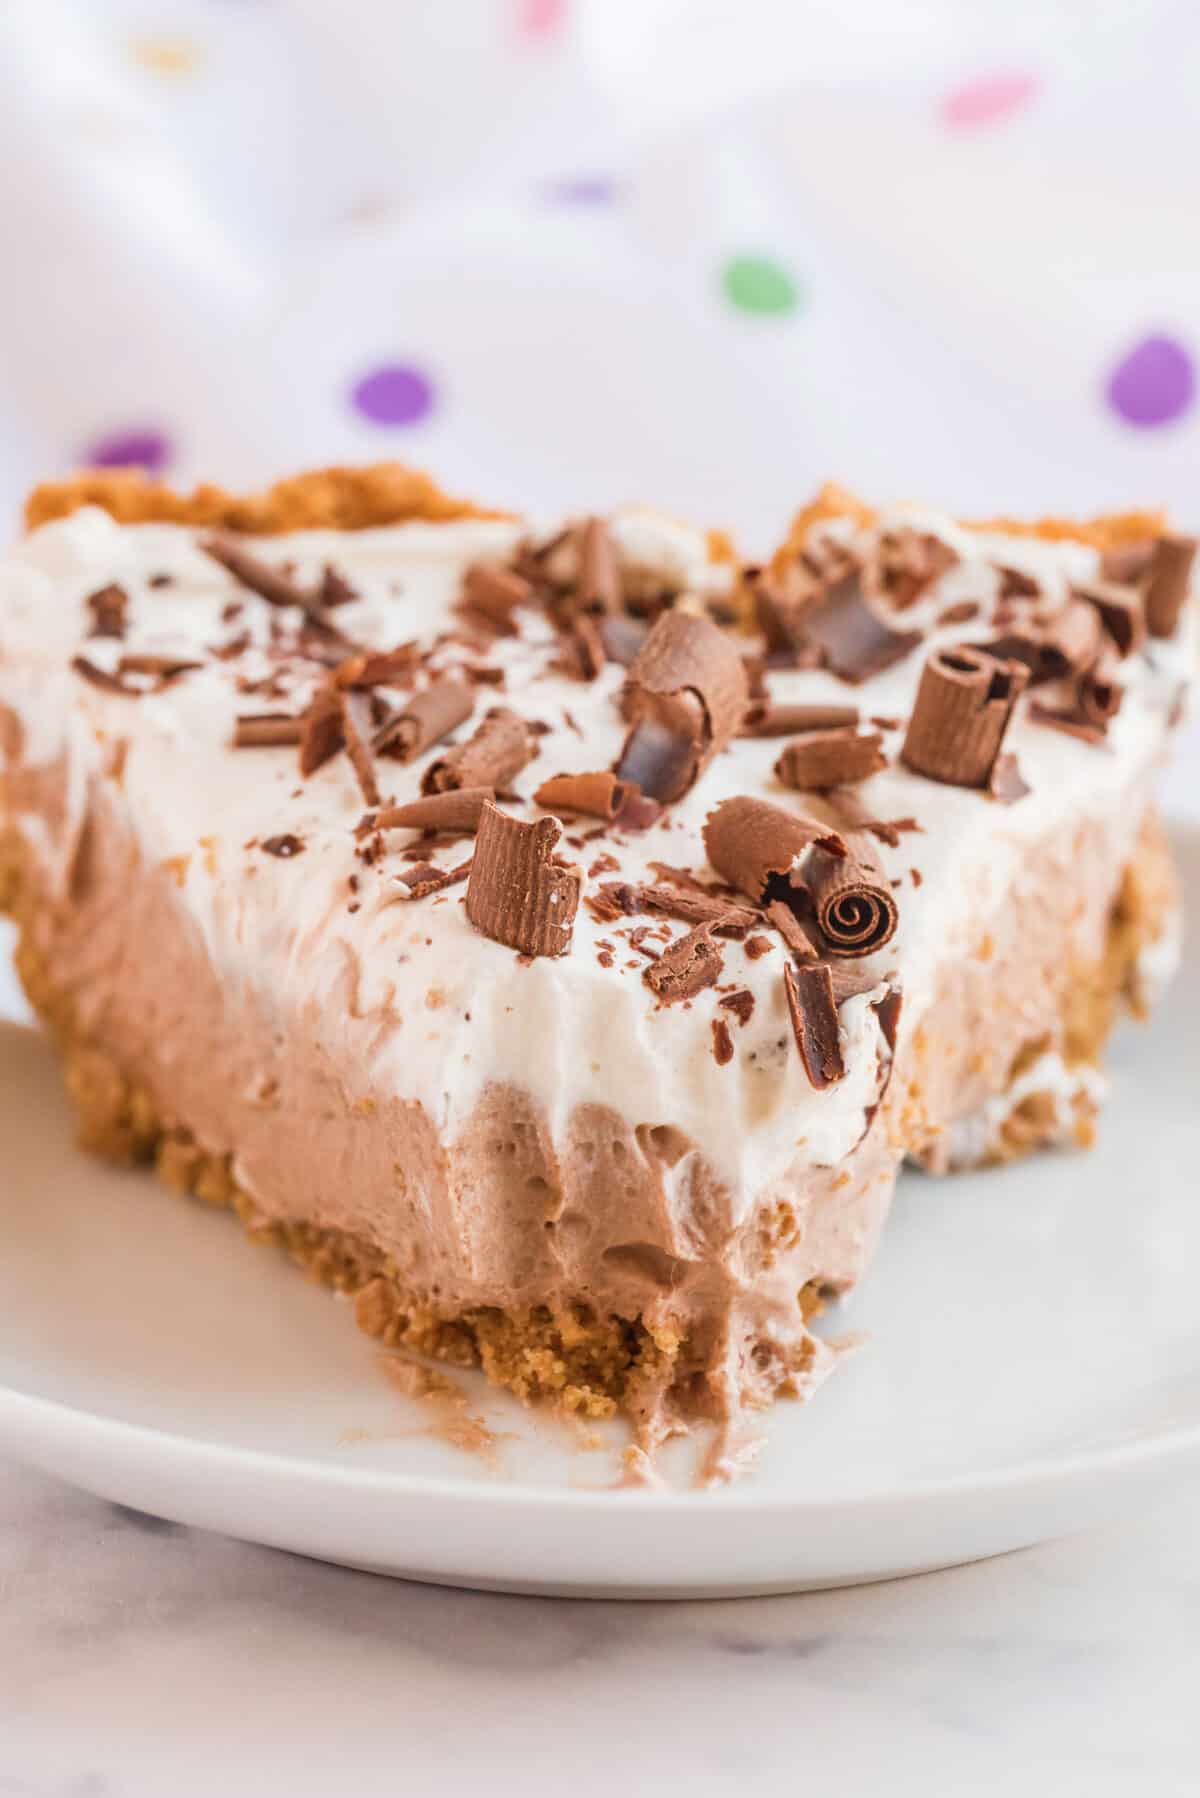
We make this pie every time we have leftover Easter candy as the chocolate tends to be of lesser quality and it’s so much better this way! I bet you could use Dollar store chocolates that aren’t the best quality either, the whipping cream really adds the richness that cheap chocolate doesn’t have! Maybe try this next with some Christmas chocolates!
Looking for more delicious Dessert recipes? Try these out:
• Fresh Fruit Platter with Dips
• Cinnamon Spice Upside Down Apple Cake
• Buttery Brown Sugar Grilled Peaches
Enjoy!
Love,
Karlynn

Pin This Recipe To Your Baking Recipes Board and Remember to FOLLOW ME ON PINTEREST!

Chocolate Mousse Pie
Ingredients
Crust:
- 2 cups of graham wafers or cookie crumbs of your choice
- 7 tablespoons melted salted butter
Filling
- 1/3 cup whipping cream
- 8 ounces sweetened chocolate of choice
- 2 large egg yolks
- 1 1/2 cups of whipping cream to fold in later
Topping
- 3/4 cup whipping cream
- 1 teaspoon white sugar
- shaved chocolate bits if desired
Instructions
- Prepare your pie crust by combining the graham crumbs and butter, then pressing into a 9.5 inch pie plate, covering the sides and bottom evenly. Bake at 350 for 10 minutes then cool.
- Melt your chocolate and whipping cream together in a thick pot on the stove over medium-low heat. Adding the whipped cream makes this slightly more like a ganache but when using chocolate that isn’t the greatest quality, it’s important that we make sure we have fats and milk solids. This allows you to use cheaper chocolate, or will add richness to a good chocolate!
- Once that is melted together, beat your egg yolks until creamy colored.Whisk 2-3 tablespoons of the hot chocolate mixture into the eggs to "temper" them, then rapidly whisk into the chocolate mixture as fast as you can, making sure there are no lumps and it doesn’t cook in clumps. Make sure it doesn’t boil!
- Cook this mixture further for another 5-7 minutes, it will thicken up slightly.
- Remove from the heat and let it cool.
- When the chocolate mixture is cooled completely, place the 1 1/2 cups of whipping cream into a medium-sized bowl and beat with a mixer until soft peaks form.
- Fold the whipped cream into the chocolate filling carefully until incorporated. Turn out the filling gently into the prepared pie crust, and smooth out.
- Cool the pie in the refrigerator for 4-5 hours, until it’s set. This will be great left overnight as well.
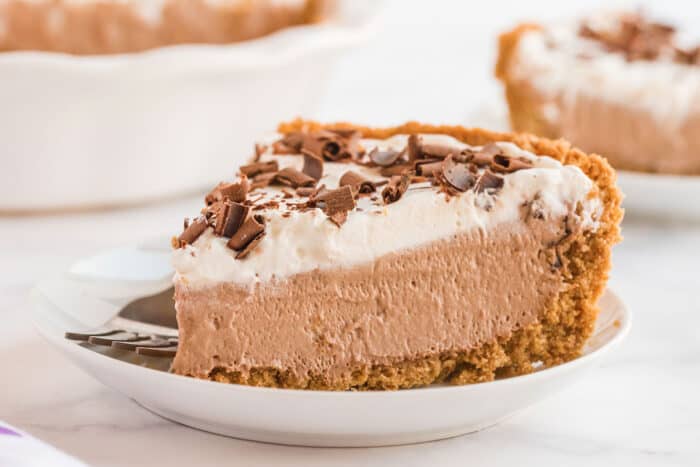
- Prepare the filling by beating the 3/4 cup of whipping cream and sugar until soft peaks form. Spread over the top of the pie, then sprinkle the chocolate shavings on top.
- Slice and serve.
Notes
- calories will depend on what chocolate you use








Leave a Comment or Recipe Tip