This post may contain affiliate links. Please read our privacy policy for additional information.
I have been using this Simple Pizza Dough Recipe for the past six years! It was one of the very first recipes that I cooked in my new house! I can truly tell you that this pizza dough gets better every time you make it and learn the feel of pizza dough. You end up with a pizza crust that is soft and fluffy on the inside and crispy on the exterior.
It’s such an indulgent pizza crust. I still like my whole wheat pizza dough recipe, but something is so wonderfully decadent about a good, white bread pizza crust smothered in cheesy toppings.
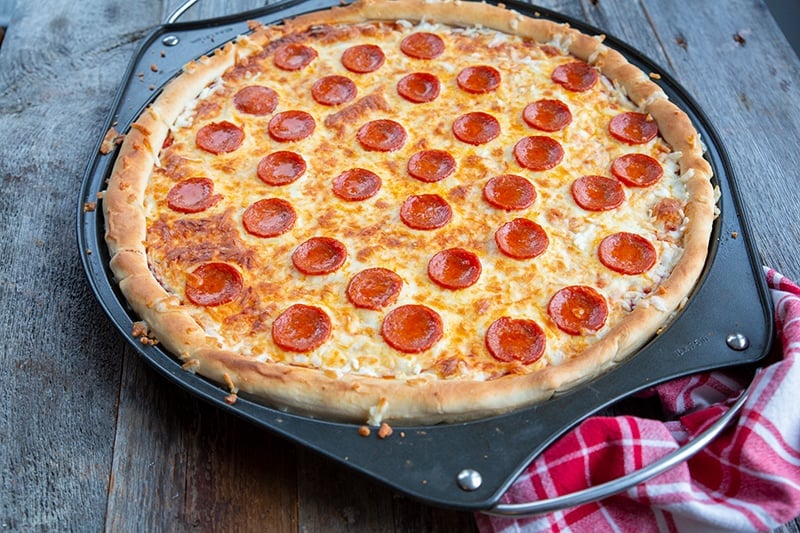
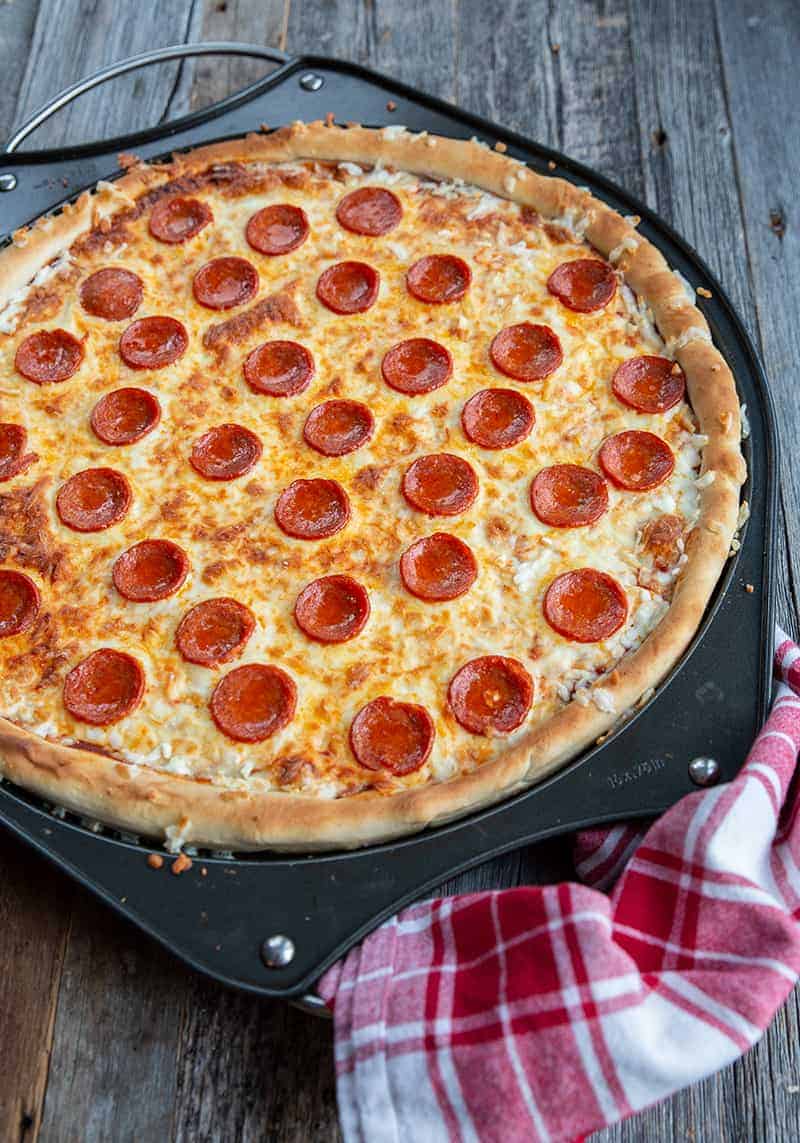
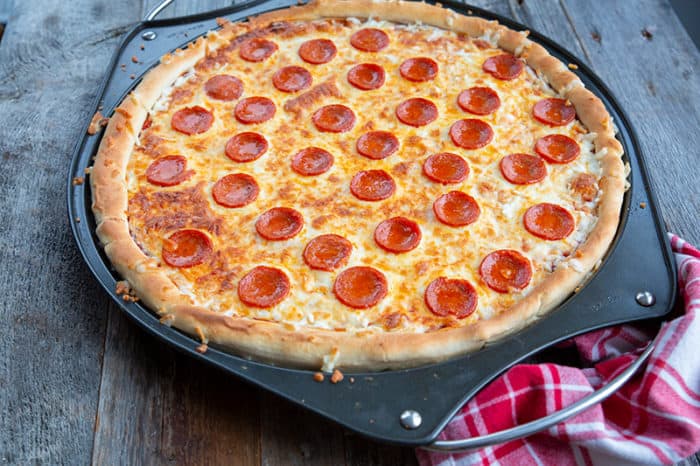
Nothing beats a Friday night with homemade pizza with the kids, and my pizza dough recipe is a large and in charge one! I use a large pizza pan with a tall lip to get that thick, delicious crust!
How to Make Pizza Dough:
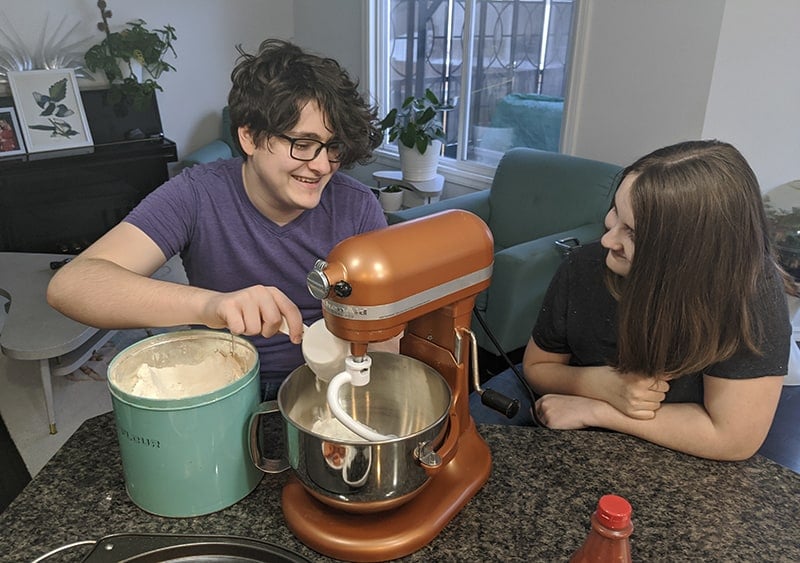
- First you need to proof your yeast, something I never skip doing. Nothing is worse than inactive yeast. So combine the water, yeast and sugar in your mixer bowl and leave to the side for 5 minutes or until you can see the yeast is foamy and active. Add in the oil. Get out your dough hook and attach to your mixer.
- Whisk together the flour and salt in a large bowl, turn your mixer onto low and start adding the flour, slowly, until the dough forms a ball around the dough hook. Keeping the mixer on low, let it knead the dough for 10 minutes until it’s elastic and smooth. Add in a wee bit of flour if it’s too sticky, the dough should just barely stick to your hands when it’s ready.
- Oil the bowl that you are going to let the dough rise in slightly so the dough won’t stick. Place the dough into the oiled bowl, turn it so that all surfaces are oiled and cover it up with tea towels or plastic wrap. I prefer a damp tea towel still and yet to any other method.
- Place in a warm, draft free area and let it rise for about 30 minutes or until it’s doubled in size.
- This makes about 5 personal pizzas, depending on if you make stuffed crusts or not.
How to Knead Pizza Dough:
You can knead the pizza dough with your hands or you can use your stand mixer with a dough hook attachment.
How to knead pizza dough with a dough hook
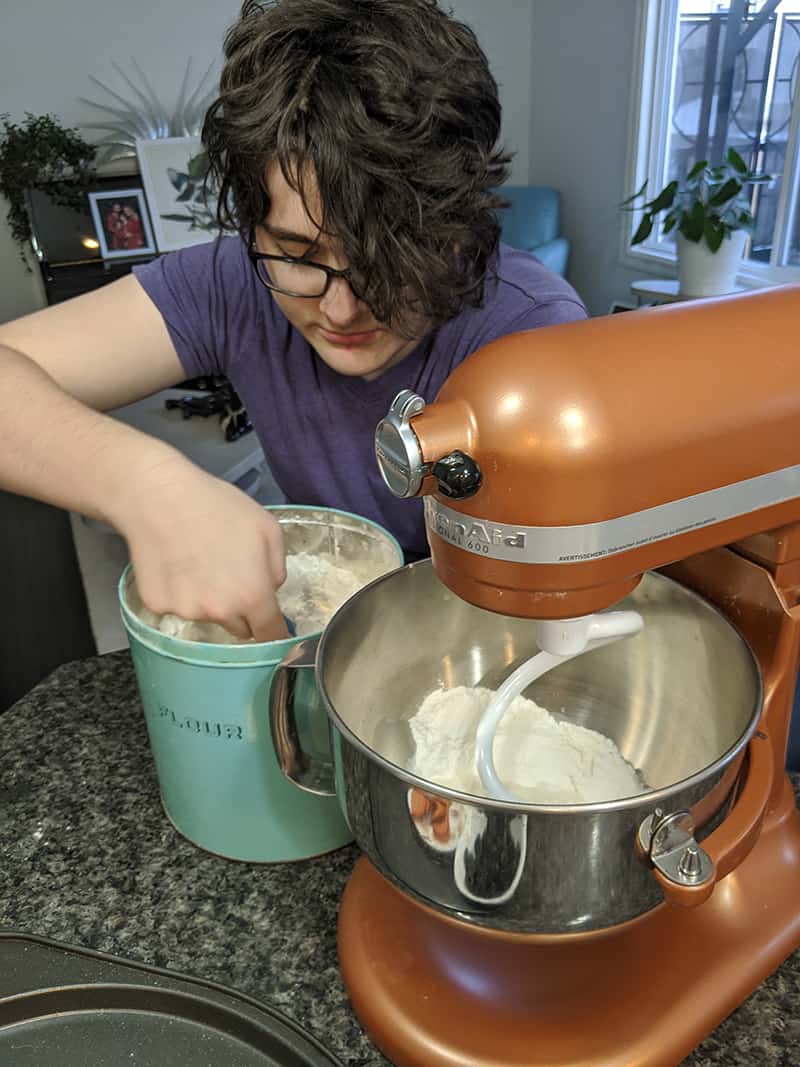
See the step by step photo collage below to see how to knead the pizza dough with a dough hook attachment on your stand mixer.
- When working with my mixer, I always put the liquid ingredients into the actual mixing bowl that I am going to use and pour the dry into the wet. My mixer leaves less dry material on the bottom and sides this way.
- Oil your dough hook
- With the mixer on low speed, add the flour, slowly, until the dough forms a ball around the dough hook. Keeping the mixer on low, let it knead the dough for 10 minutes until it’s elastic and smooth. Add in flour if it’s too sticky, the dough should just barely stick to your hands when it’s ready.
How to Knead Pizza Dough With Your Hands
See the step by step photo collage below for visual cues on how to knead the pizza dough with your hands.
- Once you have the yeast foaming, add in the flour slowly, mixing with a large wooden spoon. Once you have all of the flour added and combined into the yeast mixture, flour your work surface with a light dusting of flour.
- Turn out the pizza dough onto the floured work surface.
- Gather the dough together in the middle with your hands.
- Press the dough down into a flat semi-circle shape with the palm of your hands, thinning it out to half the thickness it was when in the ball.
- Grab the outer edges of the dough and bring them into the middle, folding the dough over itself. Turn, and push the dough out again with your palms, essentially kneading another part of the dough. You don’t want to keep kneading the same part of the dough.
- Repeat for 8-10 minutes until you have kneaded all parts of the dough ball and the dough elastic and is slightly tacky to the touch.
How to Roll Out Pizza Dough:
The main thing when it comes to rolling out your pizza dough is to make sure that you have a floured surface that your dough will not stick to. You also do need a rolling pin to ensure that the pizza is the same thickness all the way though.
- Sprinkle your work surface with flour to ensure that the pizza dough won’t stick
- Use a rolling pin to roll out the dough into a circle the size of your chosen pan.
- Make sure not to tear the dough with the rolling pin or make it too thin
- One done, carefully transfer the dough to your prepared pizza pan.

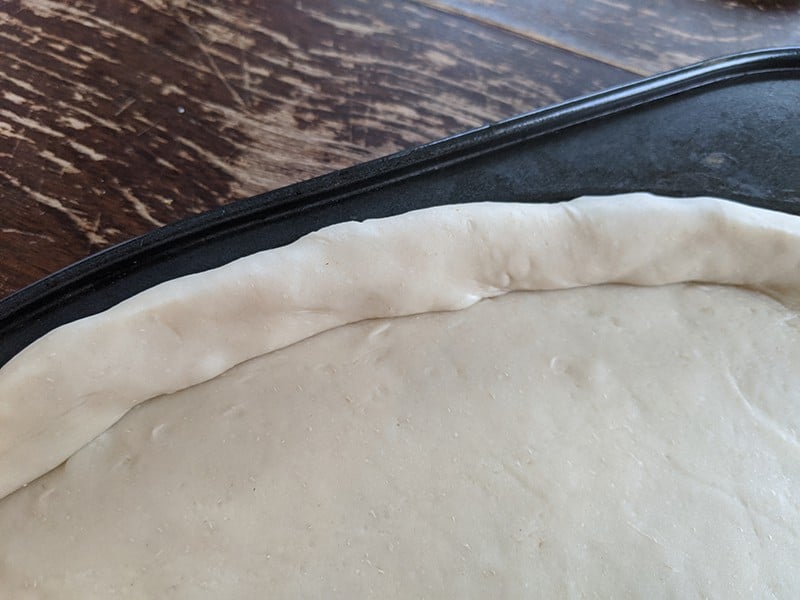
How to Make a Cheese Stuffed Pizza Crust:
- To make a stuffed crust, roll a larger circle than you actually need.
- Take cheese – and low fat cheese actually gives you a nice, stringy filling which is what you want- and place slightly inside the circle then fold over the dough and seal shut.
- Continue until the crust is stuffed!
How to Freeze Pizza Dough
This recipe makes 3 pizzas which you may not need to make. Fear not, this pizza dough freezes perfectly!
- Once you are done with the rising step of the recipe, divide the dough into three and then wrap the portion(s) that you aren’t going to use in plastic wrap. Place into a another freezer safe plastic bag and freeze for up to 3 months
- To use the pizza dough simply remove and let it defrost in your refrigerator.
Tips and Tricks for Making a Great Pizza Dough
- I always place my pizzas on oiled, cornmeal dusted cookie sheets to rise and cook.
- Let your pizza crusts rise again for another 10 minutes and cook it for 5 minutes before you put any sauce or ingredients on top, this will prevent soggy bottoms. This is a huge tip you guys, please don’t ignore it! Most recipes don’t tell you to let the crust rise again, this is vital!
- Pre-heat your oven to 450 while it’s rising. You want your oven hot hot hot!
- Cook your pizza for 10-15 minutes, you want to cook it hot and fast to prevent soggy crust. This is also why you let the crust pre-rise again, this allows for this fast, extremely hot baking.
It will be done when the crust is beautifully browned with lovely melted cheese.
Try it out this weekend and let me know what you think!
Don’t forget to visit the Life’s Simple Ingredient website and get some more delicious wheat recipes!
Love,
The Kitchen Magpie

Pizza Dough Recipe
Ingredients
- 1 1/2 cups warm water
- 2 teaspoons 1 sachet dried yeast
- 1 teaspoon white sugar
- 4 cups plain flour
- 1 teaspoon salt
- 1/4 cup olive oil plus extra for brushing
Instructions
- To proof the yeast, combine the water, yeast and sugar in your mixer bowl and leave to the side for 5 minutes or until you can see the yeast is foamy and active.
- Add in the oil.
- Get out your dough hook and attach to your mixer
- Whisk together the flour and salt in a large bowl, turn your mixer onto low and start adding the flour, slowly, into the yeast mixture until the dough forms a ball around the dough hook.
- Keeping the mixer on low, let it knead the dough for 8-10 minutes until it's elastic and smooth. Add in a bit of flour if it's too sticky, the dough should just barely stick to your hands when it's ready.
- Place the dough into an oiled bowl, turn it so that all surfaces are oiled and cover it up with tea towels or plastic wrap.
- Place in a warm, draft free area and let it rise for about 30 minutes or until doubled in size.
- Punch the dough down and then divide the dough into three pieces and roll each out into a pizza sized circle. Or use this to make one monster family sized pizza.
- Preheat your oven to 450 °F.
- Sprinkle cornmeal on your pizza stone or baking sheet. Place the pizza crust on top and let rise for another 10 minutes.
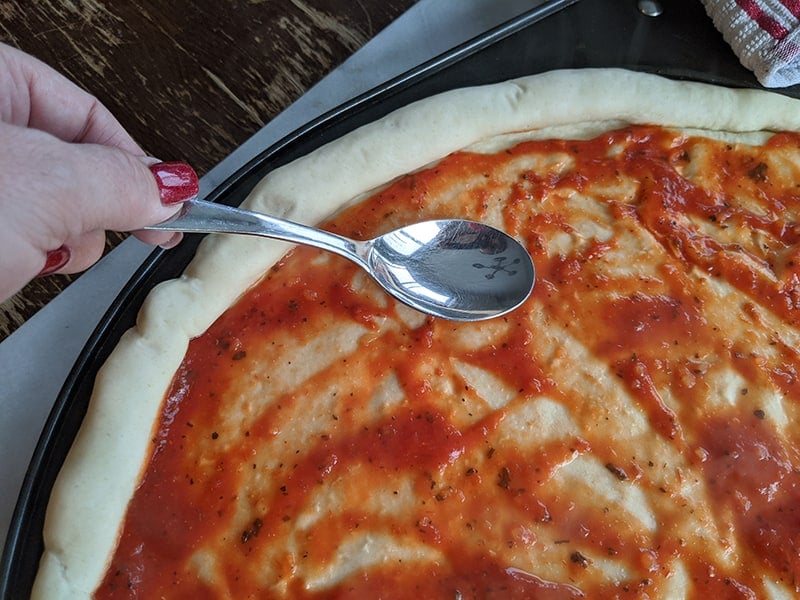
- Cook the crust for 5 minutes and then remove. Place your pizza sauce and toppings on top.
- Return to the oven and cook for another 10-12 minutes until the crust is well browned and the toppings are hot and the cheese melted.
- Remove, let sit for a few minutes then serve and enjoy.
Notes
- Always let the crust rise and then pre-bake, this will ensure you don’t have a soggy pizza!
Nutrition

PIN THIS RECIPE to your DINNER RECIPES Boards and Remember to FOLLOW ME ON PINTEREST!



Frank Sharpe says
I’ve tried many crusts over the years. This one is the winner!!
David D says
Used this recipe to make a square pizza for dinner using ingredients that were about to expire.
Came out great. I like my pizza’s with a thick crust(I have no use for thin crust ). Only thing is I had to let dough relax as it was shrinking everytime I stretched it out.
You need patience.
Joyce says
What a hit this pizza dough is with my family! The hint about letting the crust rise again after formed and letting it sit again does make a huge difference!
Thanks KM!!
Patty Dunn says
This looks great. How do you think this would work in a wood fired pizza oven?
lisa says
Can you tell me who makes that pizza pan! Love it !
Jillian Ness says
The kids want this tonight, thanks karlynn. xoxo
Kavita Mevada says
Thanks for sharing this wonderful recipe!
Ria Mathew says
Hello! I am here for the very first time and I love it already! The pizza crust looks fab!
Addie (@BigAddie) says
Hi Karlynn!
It’s wonderful to read your blog (and I read a lot more often that I comment). Thanks for this quick and easy recipe – it’s a must try, especially if the results can possibly be as good as you’ve achieved! Excited about the Culinary Arts Cook Off!! 🙂
Karlynn says
If you follow the tips it’s really easy!
Wendy says
Thanks for sharing this, I will definitely try it. I have been using pizza yeast for my dough (no waiting for rising) and Only just conquered it.
blackbird says
We make our personal pizzas on naan bread from the grocery store. It’s pretty good. Yours looks better, but that is because I am licking the pictures of cheese on my monitor.
Karlynn says
It’s pretty cheesy!