This post may contain affiliate links. Please read our privacy policy for additional information.
Bisquick is a great little convenience for making all sorts of baking recipes a lot easier. But what if you want to try and make some good homemade Bisquick yourself?
For some great recipes using Bisquick, try the cheeseburger pie, quiche, or biscuits recipe.
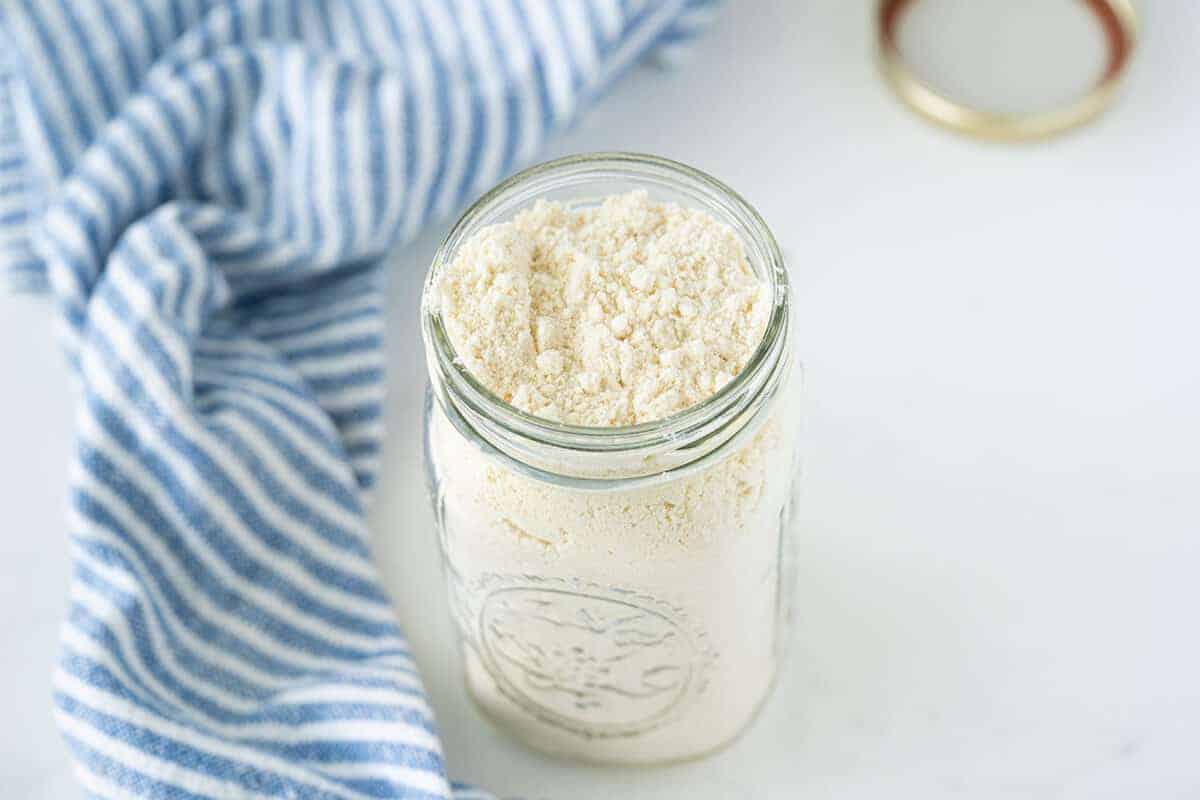
Homemade Bisquick
Bisquick is basically every baker’s best friend when it comes to convenience in the kitchen. Instead of carefully calibrating flour, baking powder, and fat ratios, you can sub in some Bisquick to get the dry ingredients of your baking recipe done much quicker.
However, if you want to try and make some yourself, maybe to cut down on the amount of plastic and packaging you are throwing away, you just need to make this recipe.
Store this homemade Bisquick in a tightly sealed container for a few months to prevent it from going rancid. Shortening will also last a lot longer if you want to keep it on hand for even longer.
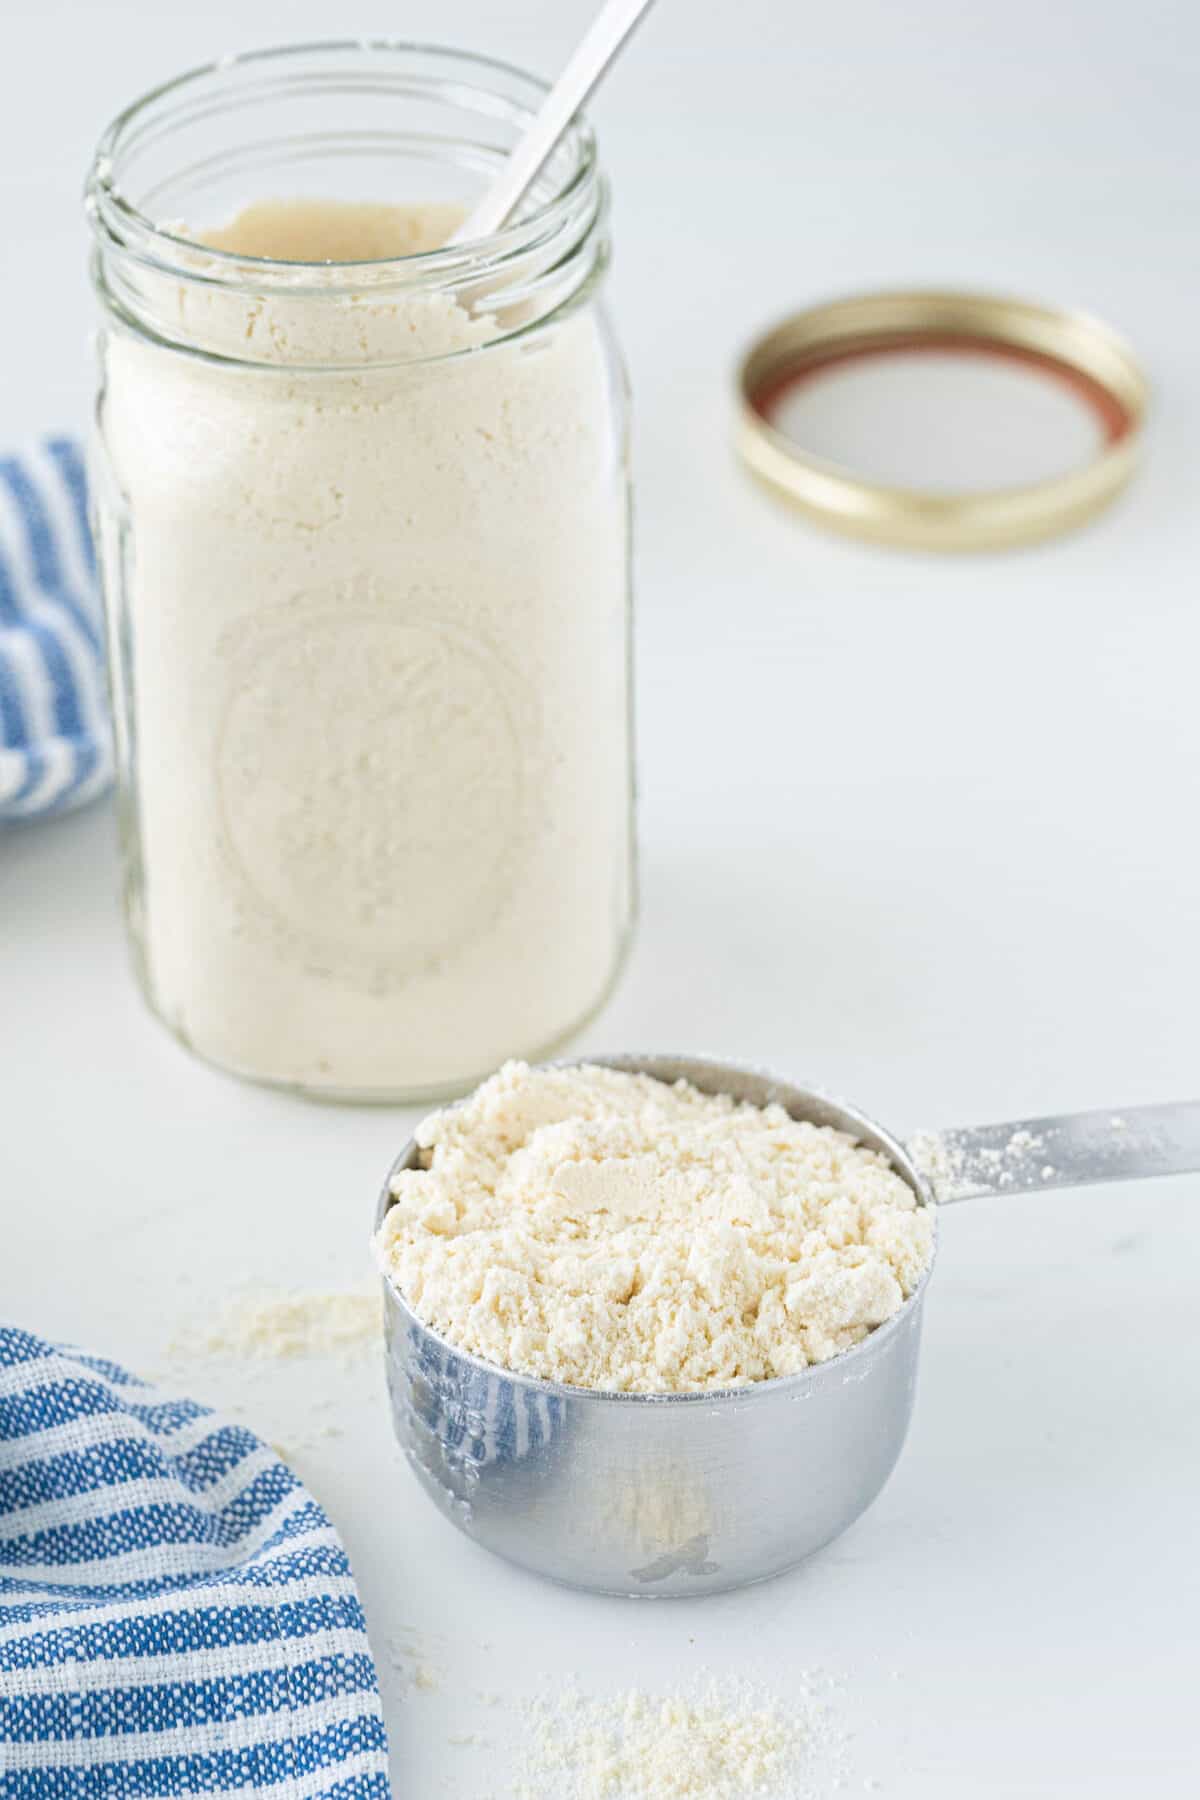
Homemade Bisquick Ingredients
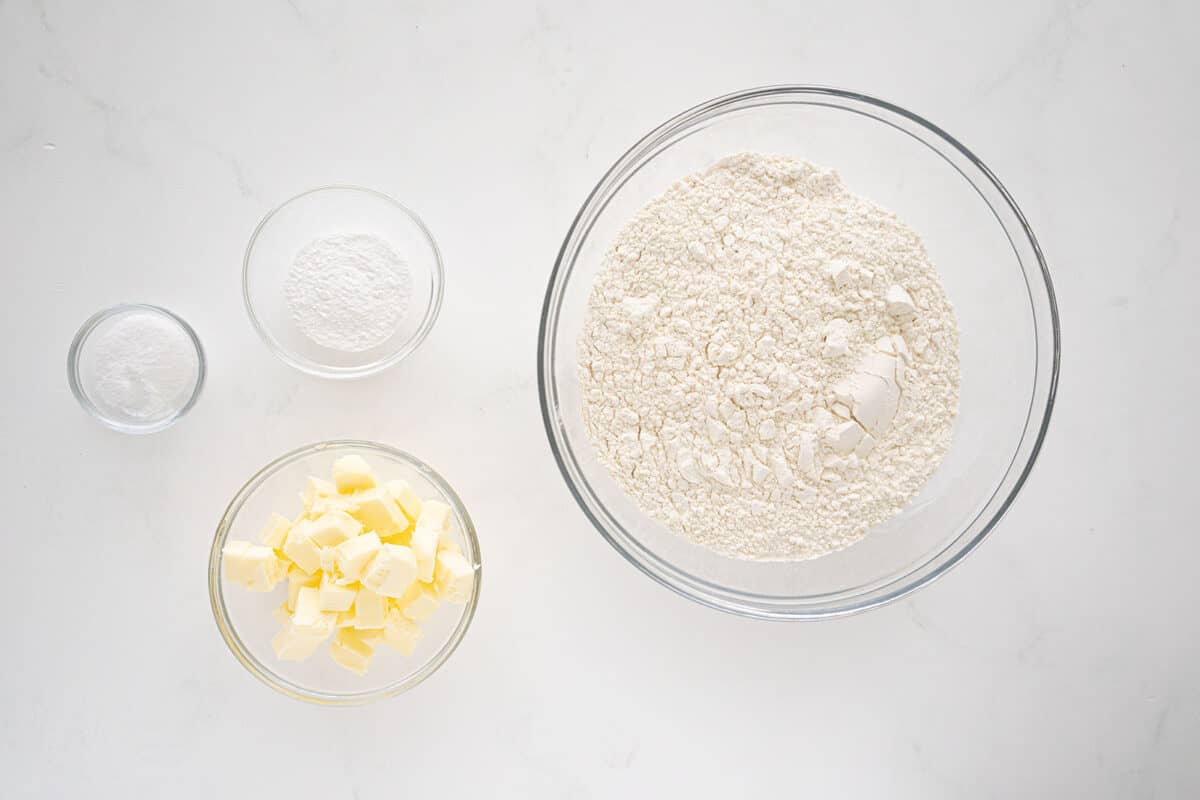
Make sure you look at the recipe card at the very bottom for the exact amounts, as there are a few fiddly ingredients here.
• All-purpose flour
• Baking powder
• Salt
• Butter (or vegetable shortening)
How To Make Homemade Bisquick
Mixing By Hand Method
• Place all of the ingredients together into a large bowl
• Using either a pastry cutter or two forks, combine the mixture all together until the butter is totally incorporated
• Store this in an airtight container for up to two months if you used butter, but up to three if you used shortening
Food Processor Method
• Add the flour, baking powder, and salt into the bowl of a food processor
• Pulse the dry ingredients for about 15 minutes until totally mixed together
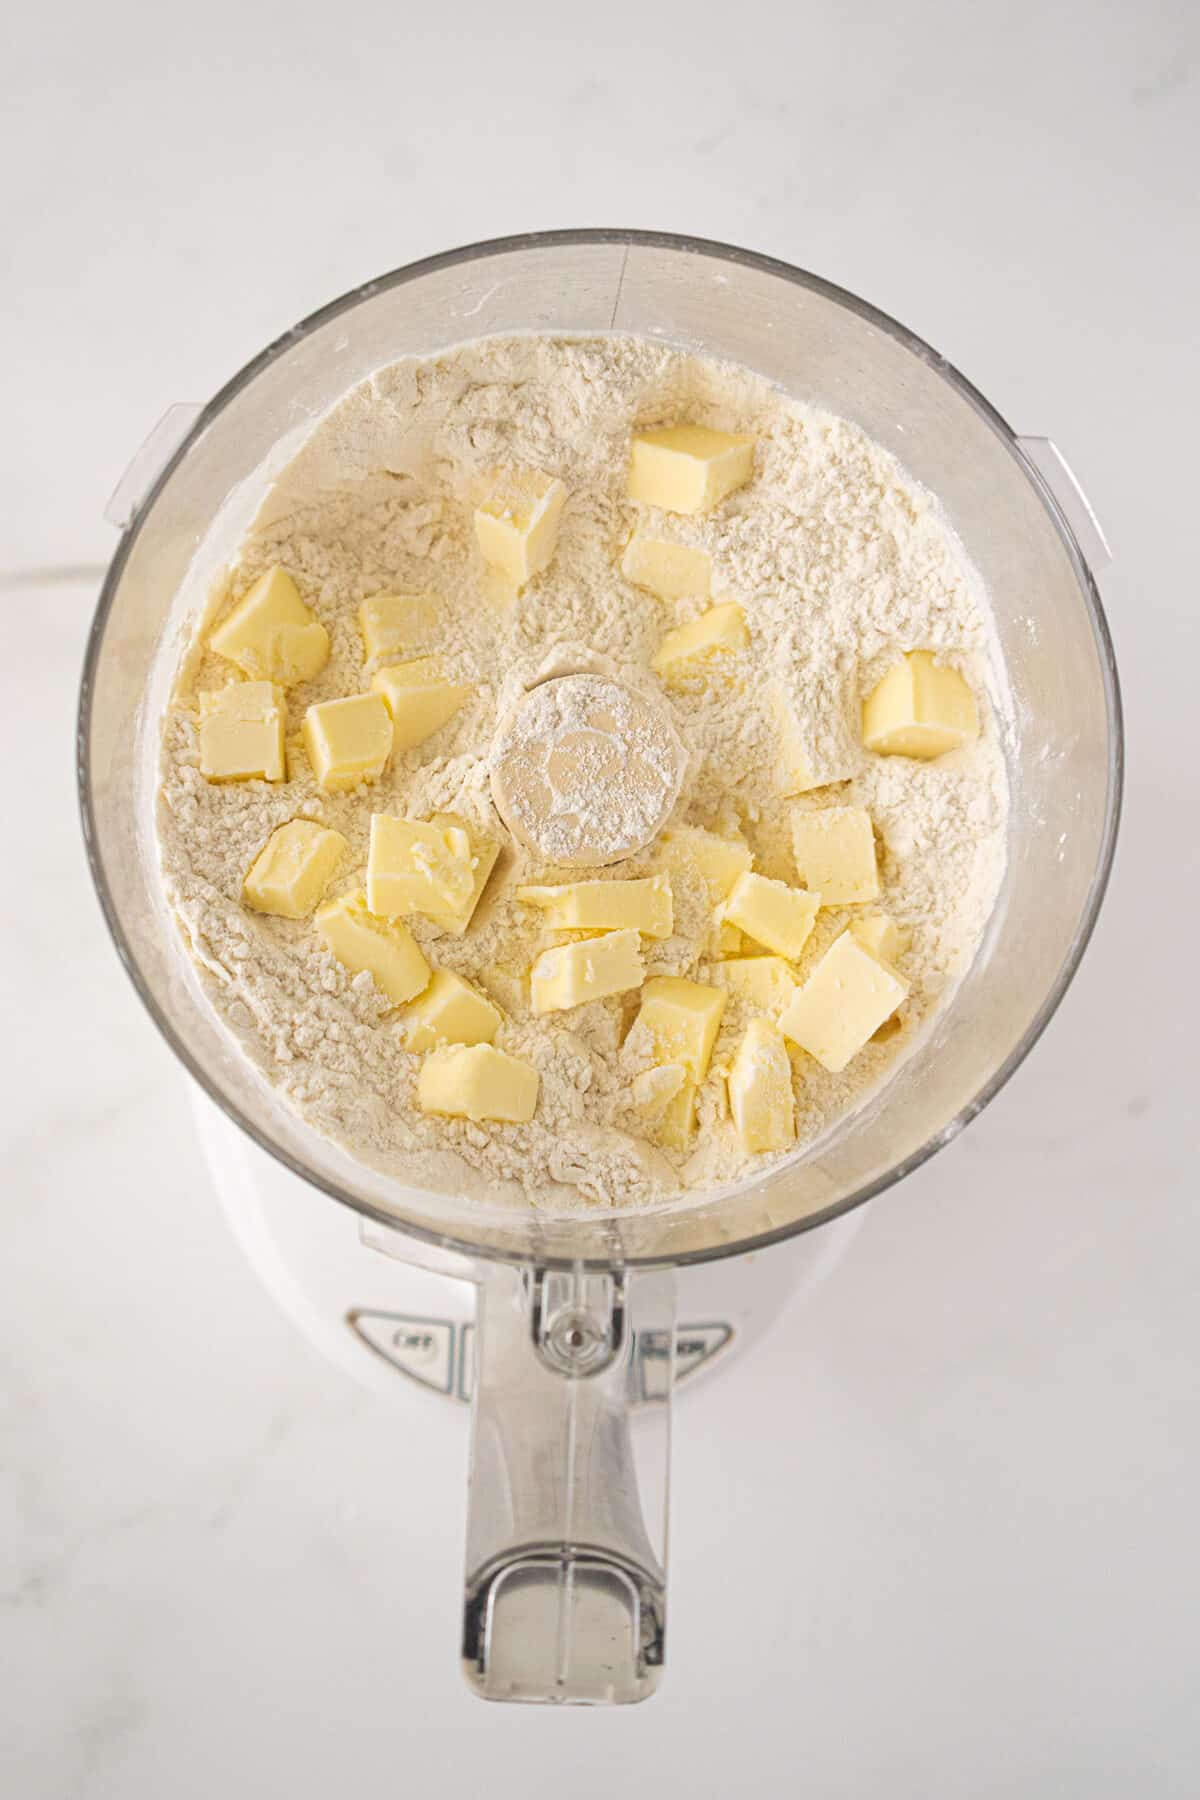
• Place the cubed butter into the dry mixture, pulsing on and off until the butter is broken down into fine crumbs
• Store this in an airtight container for up to two months if you used butter, but up to three if you used shortening
How To Cut The Fat Into The Flour
The trickiest part of making any flour and fat mixture is cutting the fat into the flour.
When doing it by hand, you can either use a fork or a specialized tool known as a flour cutter. You want to really mash the fat into the flour, way past the point where you think you’ve probably done enough because the texture won’t be right unless you get it properly mixed in.
This is obviously a lot easier when using a food processor, so the only thing you need to remember is whether you’ve pulsed it enough.
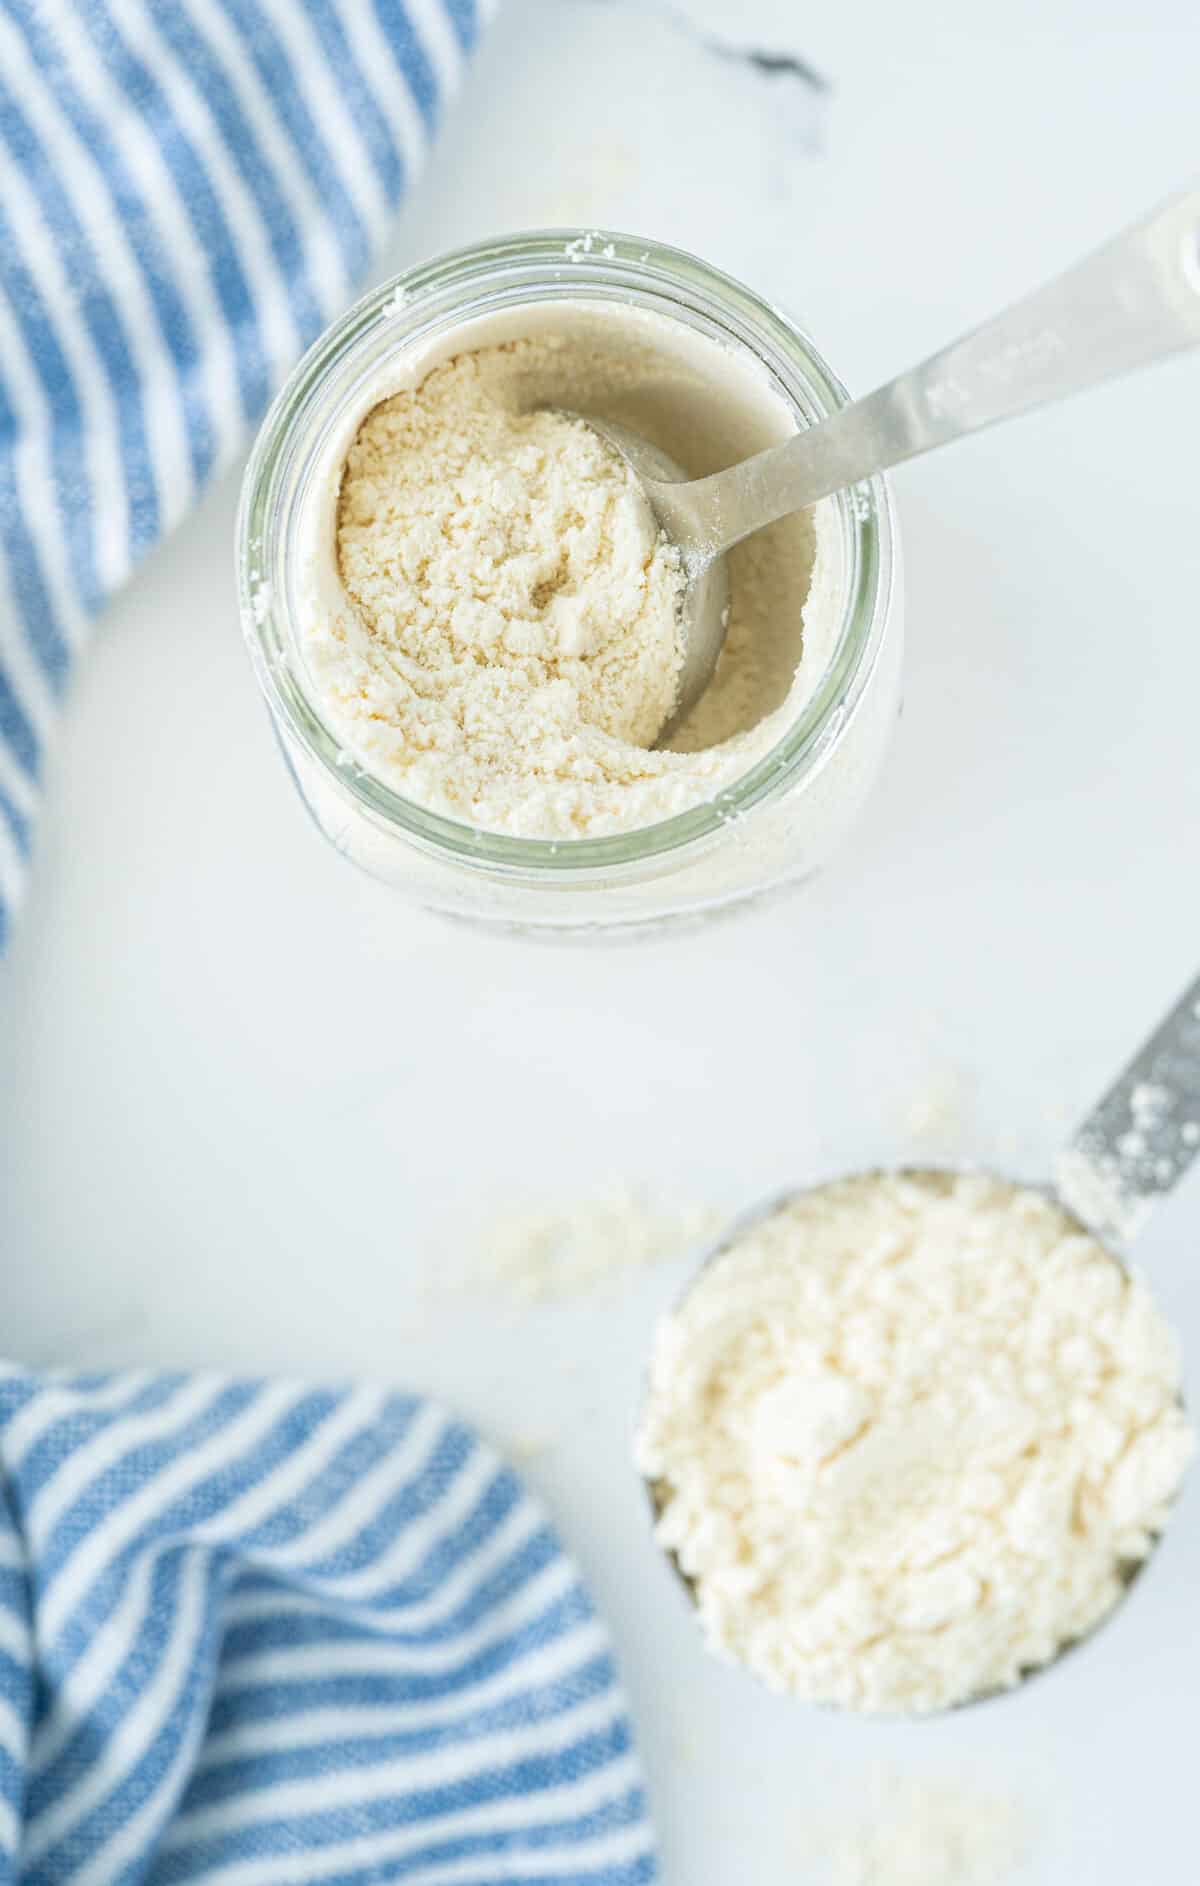
The standard advice is to keep pulsing it until the mixture takes on the consistency of coarse sand. This means that the flour and butter have completely intermingled. If you rub your hands through the mixture, it should slightly clump up while still being distinct globs of flour-covered fat.
Should You Use Butter Or Shortening To Make Your Own Bisquick?
The fat you use in this recipe will not only affect the flavor of your homemade Bisquick but also change how long it lasts without risking becoming rancid.
Butter is definitely the winner when it comes to flavor, but it can actually go rancid before you use it.
Consider using shortening for a longer shelf life and a slightly better texture. Bisquick and other similar brands use shortening because its inherently low water content means that it will take a really long time for it to spoil.
Shortening also feels a little bit less greasy than using butter, but it obviously lacks that tremendous buttery taste, so choose whichever one is right for you.
Looking for more delicious Bisquick recipes? Try these out:
- Bisquick Peach Cobbler
- Bisquick Sausage Balls
- Bisquick Chicken and Dumplings
Try my How to Make a Cornstarch Slurry as well.
Enjoy! This is a great recipe hack for those of you who don’t want to use storebought baking mix anymore!
Love,
Karlynn
Homemade Bisquick™
Ingredients
- 6 cups all-purpose flour
- 2 tablespoons baking powder
- 1 tablespoon salt
- 1 cup butter or vegetable shortening cold, and cubed into small cubes
Instructions
Mixing By Hand
- Place the flour, baking powder, salt and butter in a large bowl
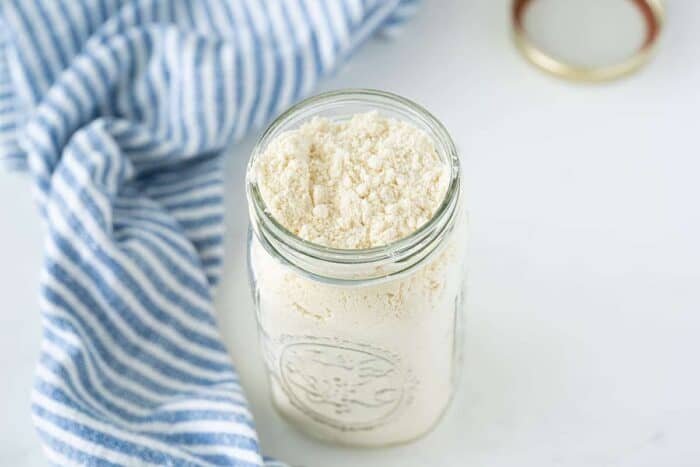
- Use a pastry cutter or two forks, combine the mixture until the butter has been worked into the mixture and is small fine crumbs. You want this to resemble commercial Bisquick in appearance, so no large lumps of butter.
- Store in an airtight container in the fridge for up to two months for the butter version, and up to three for the shortening version. This can also be stored in the freezer.
Food Processor Method
- Add the flour, baking powder and salt to the bowl of a food processor.
- Pulse the dry ingredients for 10-20 seconds until mixed together completely.
- Place the cubed butter into the dry mixture. Pulse the processor until the butter has been worked into the mixture and is small, fine crumbs. You want this to resemble commercial Bisquick in appearance!
- Store in an airtight container in the fridge for up to two months for the butter version, and up to three for the shortening version. This can also be stored in the freezer.
Notes
- Using cold butter works best when using the food processor method as you get really fine cold butter crumbs this way
Nutrition

Pin This Recipe To Your Baking Recipes Board and Remember to FOLLOW ME ON PINTEREST!




Tanya says
This has worked out very well as it is hard or impossible to find Bisquick in Canadian grocery stores anymore. This has been amazing as a make ahead recipe for weight watchers because you can cut the Bisquick to half for the quiche and it still turns out perfectly. I make mini quiches which are one point each. Such a treat!
Janeece says
In the body of the article you have pulsing the dry ingredients for 15 minutes, should that be seconds as stated in the recipe?
Josie says
I noticed that too! I’m assuming the time listed in the actual recipe would be correct.
Margaret R James says
I’m wondering if I could make the mix of all the dry ingredients, but not add the butter or the vegetable oils until I do want to use it for my recipe. How long can this mix last me then?❤️
Holly says
The baking powder would slowly lose it’s effectiveness depending on how old it gets after mixing with the flour. I have never had brand name bisquick in bulk from get old on me. I use it up fairly quickly within 6 months of purchasing for sure. I would believe it would stay good for at least that long and quite possibly longer.
Jackie says
Can this Bisquick be put in refrigerator to keep longer?
Karlynn Johnston says
Store in an airtight container in the fridge for up to two months for the butter version, and up to three for the shortening version. This can also be stored in the freezer.
Verna Sorrentino says
Can I use gluten free flour for this please?
Karlynn Johnston says
I haven’t tested it, but I would try a small batch and see how it works! It should be fine!
Brenda Wiggins says
Can you use Hoosier Hill Farm Real Butter powder in place of the cubed butter & if so how much would you use?
Karlynn Johnston says
I haven’t used the butter powder. Do they give a ratio to use in place of butter? You could try using the manufacturer’s suggested replacement ratio and see how it works.