This post may contain affiliate links. See my privacy policy for details.
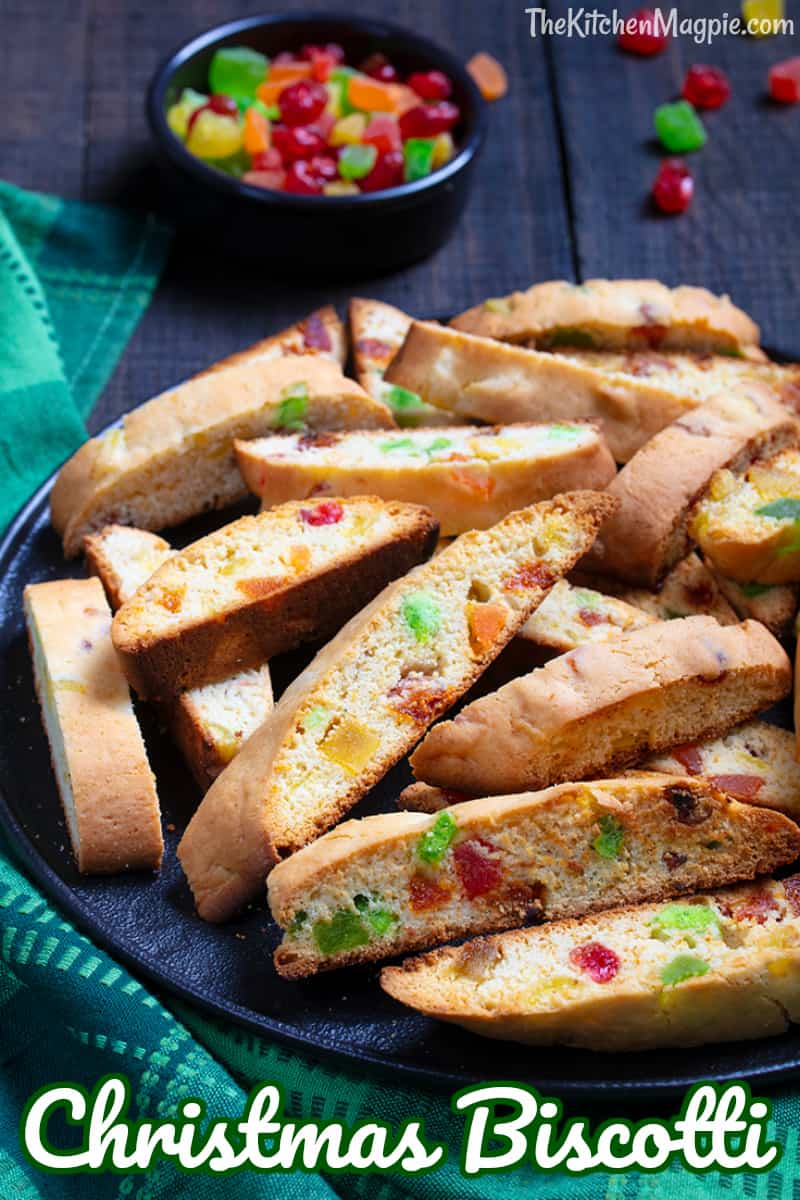
You’re going to LOVE this Christmas Biscotti recipe! This is one of my absolute favorite festive treats and I look forward to it every single year! It’s literally a serving of Christmas in one seriously scrumptious cookie.
If you’re looking for a few more Christmas cookie options, my crispy, buttery candy cane cookies and Mrs. Fields blue ribbon chocolate chip cookies are always a hit too!
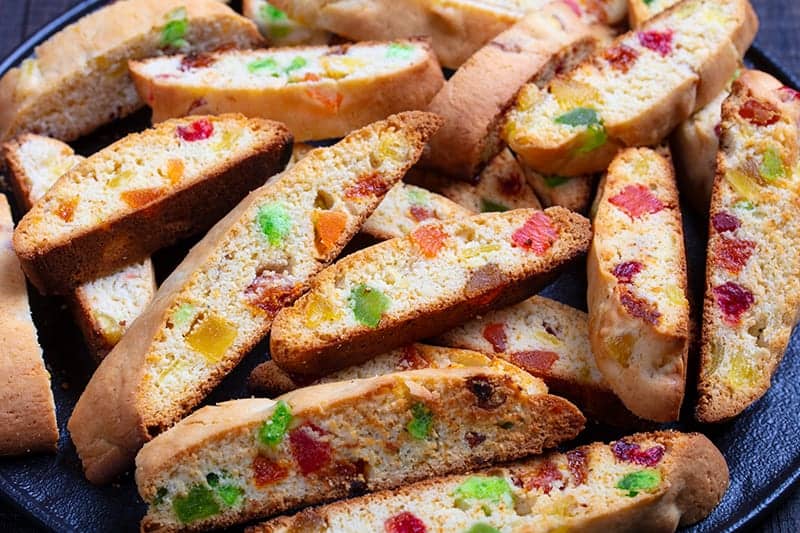
What is Biscotti?
Haven’t heard of biscotti before? Oh boy, you’re in for a treat! Biscotti means “twice-baked cookies” in Italian which is a literal reference to how they’re baked. When these cookies first originated in Italy many years ago they were baked twice so that they cookies would develop a crispy texture and form the distinctive shape they’re known for. The Biscotti is made by shaping the dough into a loaf that is baked and then cut up into cookies – then the cookies are baked again until they’re baked to crispy perfection!
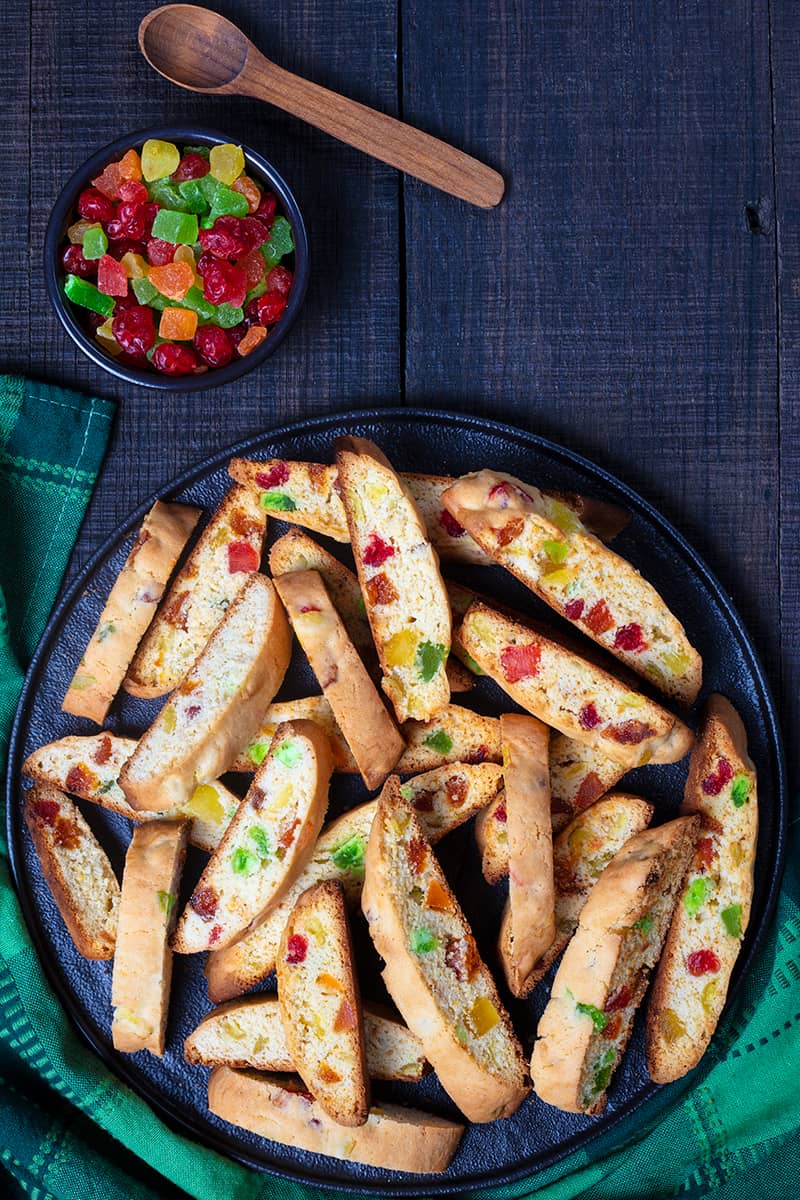
How to Make Biscotti
- Cream the butter and sugar, mix in the eggs and add in the almond flavoring.
- Whisk your flour, baking powder and salt together and add the mixture to the wet ingredients.
- Add in your candied fruit and some chopped up cherries.
- Refrigerate for an hour.
- Once the dough is cool and firm, split it into 4 equal pieces each shaped into a 12-inch log.
- Place the logs on a baking sheet, flatten slightly, and bake in a 325 F oven for around 30 minutes until browned.
- Cool the loaves for about 4 minutes, slice into thick slices and put them back in the oven for another 10 – 15 minutes.
- Remove the logs from the oven, let them cool, and dip them into (or drizzle with!) chocolate or leave them plain, whichever you prefer!
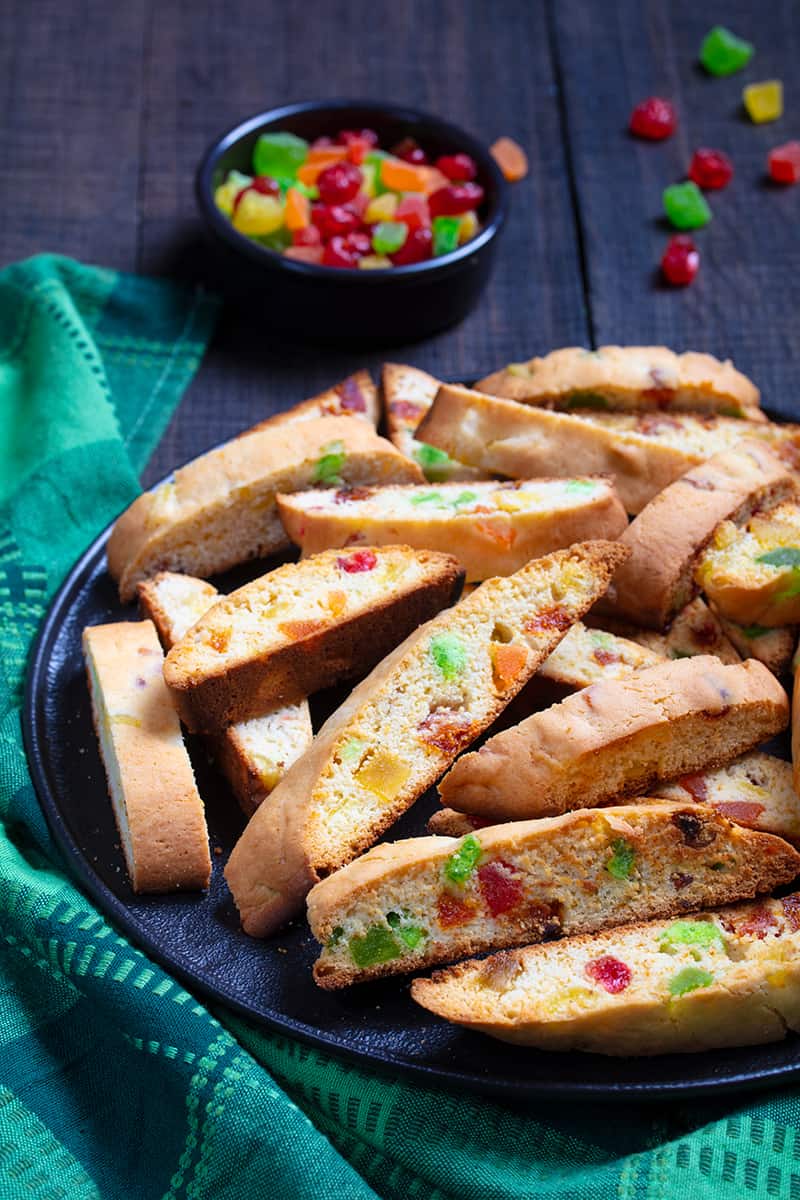
It’s Totally Normal For Biscotti Loaves Spread a Little!
Biscotti will spread when baked and your gut instinct will be to panic (I know I did when I first made it!), but this is totally normal and won’t affect the end result at all. Just let the loaves cool properly once they’re ready and all will be well! However because they DO tend to spread, I avoid baking biscotti when there’s a lot of humidity because it’ll spread even more than usual.
How Long Will Your Biscotti Stay Tasty?
Your Christmas biscotti cookies will last for up to two weeks once you store them properly, but I wouldn’t bet on them lasting that long once you dig in! Make sure that you store them in an airtight container so that they stay crisp, and place some parchment paper in between the layers of cookies. Around the two week mark, if you dipped them in chocolate, the chocolate starts to go chalky and they really won’t be as nice, trust me.
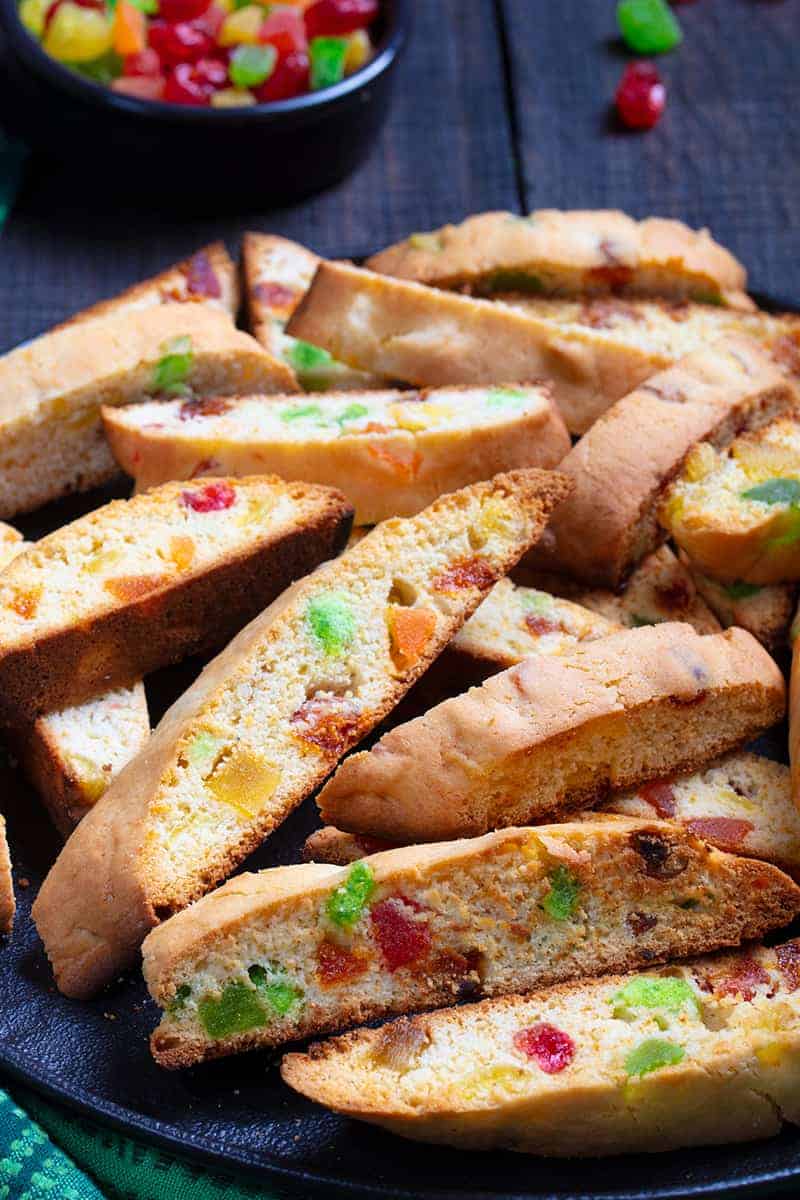
The Perfect Edible Christmas Gift!
Christmas biscotti is the perfect edible Christmas gift and it’s always appreciated! I personally think it’s a lovely little gift for the kids to bring in to their favorite school teacher! You can add it to a Christmas hamper or add some individually wrapped biscotti into a Christmas mug, I’ll leave it up to your imagination!
Happy baking!
Love,
Karlynn
Christmas Biscotti

- Prep Time
- 1 hour 30 minutes
- Cook Time
- 40 minutes
- Course
- Dessert
- Cuisine
- Italian
- Servings
- 48
- Calories
- 132
- Author
- Karlynn Johnston
Ingredients
- 1/2 cup butter
- 2 cups white sugar
- 6 eggs
- 1 1/2 teaspoons almond extract
- 5 1/2 cups all-purpose flour
- 1 tablespoon baking powder
- 1/2 teaspoon salt
- 1 1/2-2 cups diced mixed candied fruit
- Your choice of chocolate for dipping, optional
Instructions
- Cream your butter and sugar, then add your eggs in. Once those are mixed, add in the almond flavoring.
- Whisk your flour, baking powder and salt together.
- Add the flour mixture to the wet ingredients.
- Once those are mixed, add in your candied fruit. I used some mixed fruit (which has peels etc in it, nice and tangy!) plus some cherries chopped up. If you like them very fruity, use about 2 cups, I went with 1 and 1/2 cups and that was good for me.
- Refrigerate the dough for about an hour.
- Once the dough is cooled and firm from its hour in the fridge, split the dough into 4 equal pieces.
- Shape each half into a 12 inch long log, place on a baking sheet covered in parchment paper and flatten slightly.
- Bake in a 325 oven until browned, anywhere from 20-25 minutes, depending on your oven! Cool for about 5 minutes.
- Once the loaves are cool enough to handle, slice them into 1 inch thick slices. Put the slices back on the baking sheet, and toast them in the oven for another 10-15 minutes, turning them once to toast each side.
- Once they are done, remove from the oven and let them cool.
- If desired, dip them into chocolate, the top, the side, the bottom, whichever you want, drizzle with chocolate or leave them plain.
- Store in a closed container.
Nutrition Information
All calories and info are based on a third party calculator and are only an estimate. Actual nutritional info will vary with brands used, your measuring methods, portion sizes and more.
Made this recipe?
Share a photo of what you made on Instagram or Facebook and tag me @thekitchenmagpie or hashtag it #thekitchenmagpie.
Please rate this recipe in the comments below to help out your fellow cooks!
Learn to cook like the Kitchen Magpie

A Very Prairie Christmas Bakebook
Vintage Baking to Celebrate the Festive Season!

Flapper Pie and a Blue Prairie Sky
A Modern Baker’s Guide to Old-Fashioned Desserts

The Prairie Table
Suppers, Potlucks & Socials: Crowd-Pleasing Recipes to Bring People Together

Pin this recipe to your Christmas Baking or Breakfast Boards and Remember to FOLLOW ME ON PINTEREST!



Arlene says
This is going to be my keeper. I am going to make another batch today, I am going to use this recipe but change up the additions a bit. Going with dried apricots and maybe raisins or dates. I will be adding some almonds too. This dough is fantastic, and so easy to handle. Thanks for sharing.
Miriam Goldyn says
Made these for my Church Cookie Walk my friends said by the time they got there their was 1 piece left… some times I don’t even do the second baking then I drizzle with melted white chocolate and colored sugar
Deb says
When did you find that gorgeous candied fruit?
Mitzi says
Made the Christmas Biscotti. It was delicious. Only tip was…when it says to let it cool in fridge then cut into four equal pieces then to roll in logs. I found the dough extremely sticky. I sprayed my hands in Pam Spray to do this. It might have been easier if I had divided the dough into four equal parts right after mixing it and putting it in four separate containers (sprayed with non-stick spray so you could get it out easier) THEN put these in the fridge to chill. I found you could not fail with this recipe. If the log you roll is bigger, it might need more time to bake the first time AND the second time.
I think you could also use different flavorings and could use different ingredients to mix in. Cherries and mini chocolate chips? It’s a recipe you could experiment with. Plus… it was good with milk chocolate spread on the bottom….it added a little something extra.
Lana says
Can I freeze them?
Darlene says
Oh my these are pretty, and they look so tasty. I love biscotti. Thank you for sharing this festive cookie Karlynn. I really would like to make these. I can see myself sitting early Christmas morning with one of these and my coffee.
Joanne Morris says
These look delicious but before I make them can you tell me how wide should each 12 inch piece should be.